
Spring will come and so will happiness. Hold on. Life will get... Warmer.
 -Anita Krizzan
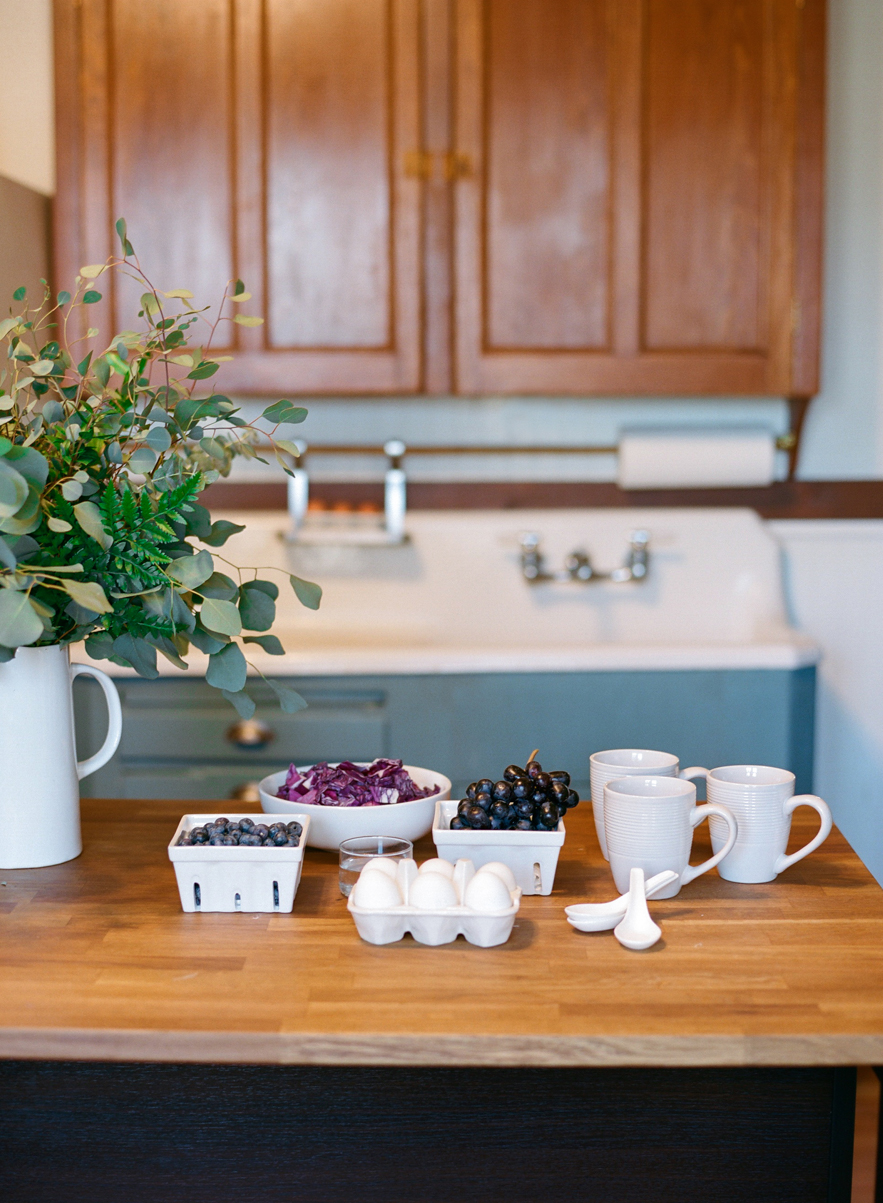
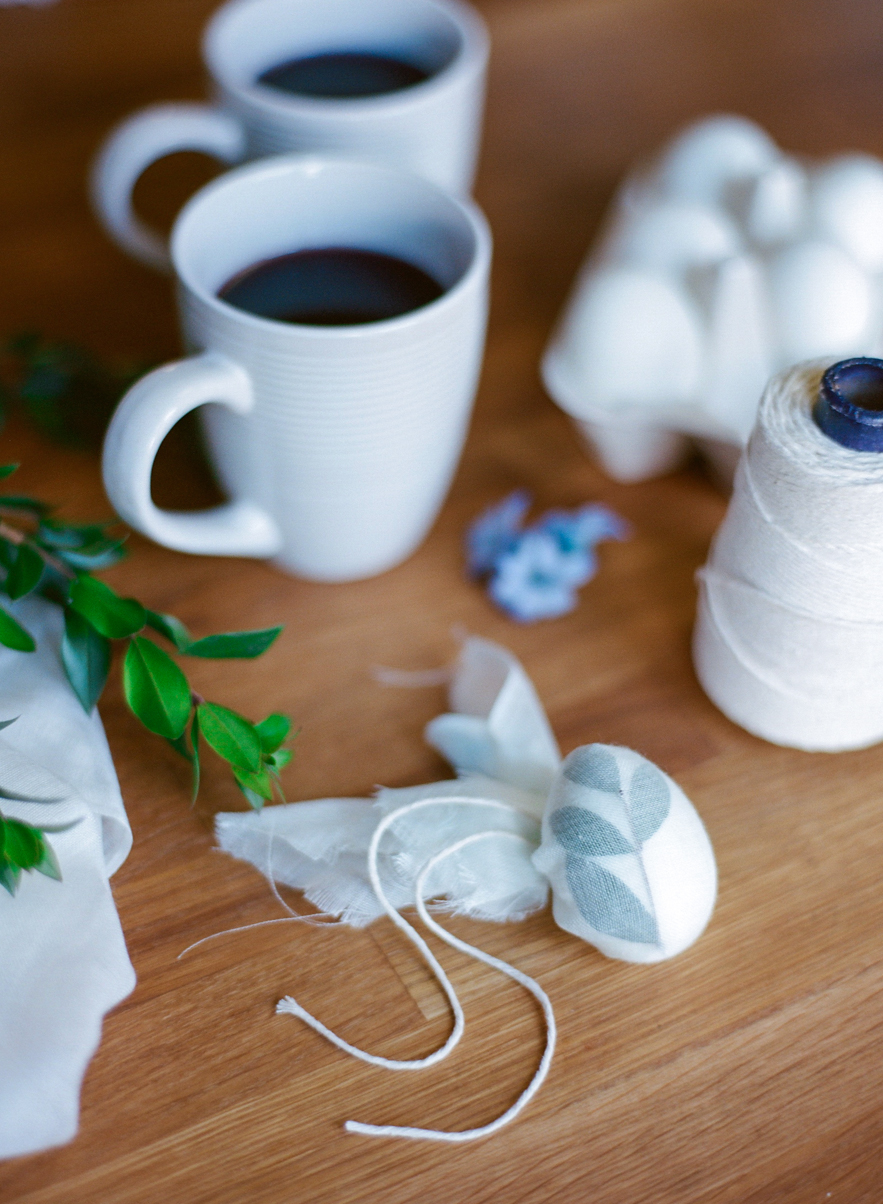
Materials:
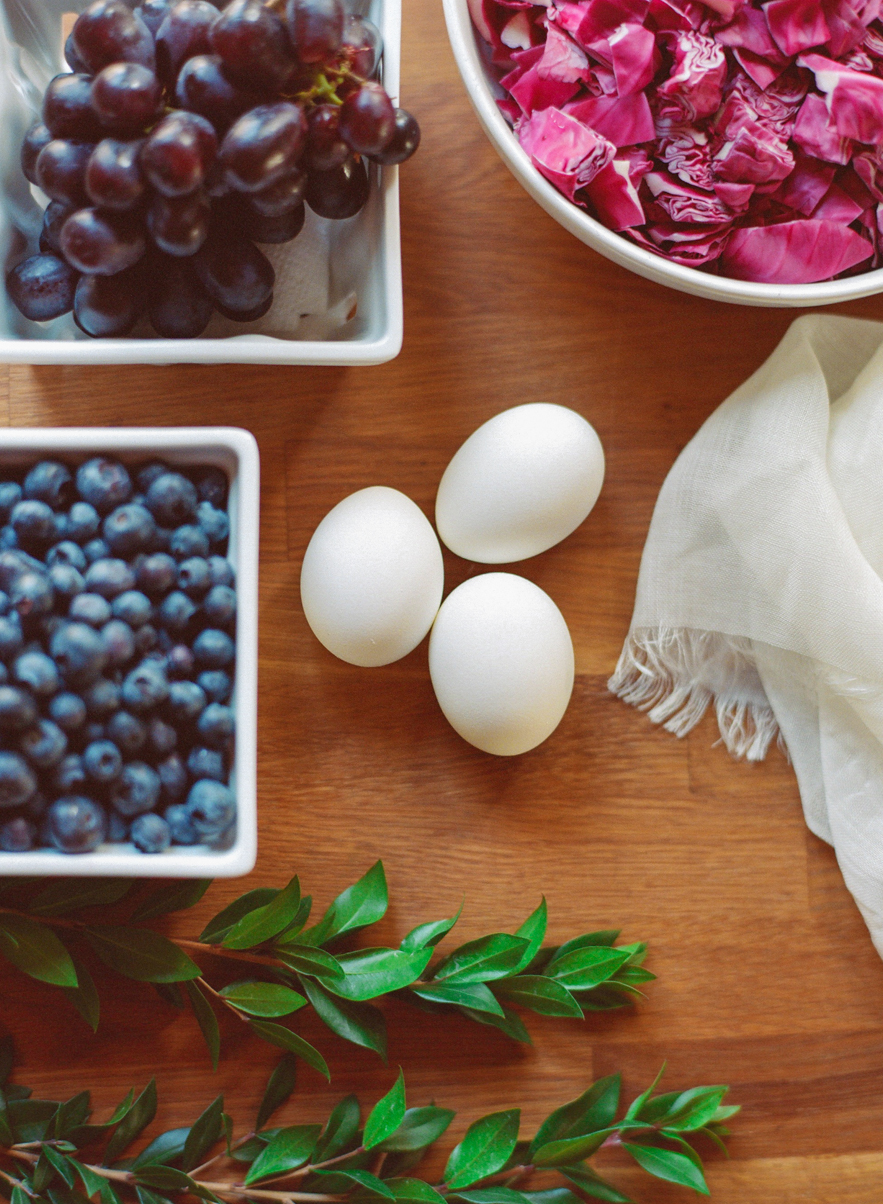
Hard-boiled (or blown out) eggs
Cheese-cloth
String (6-7” lengths) or rubber bands
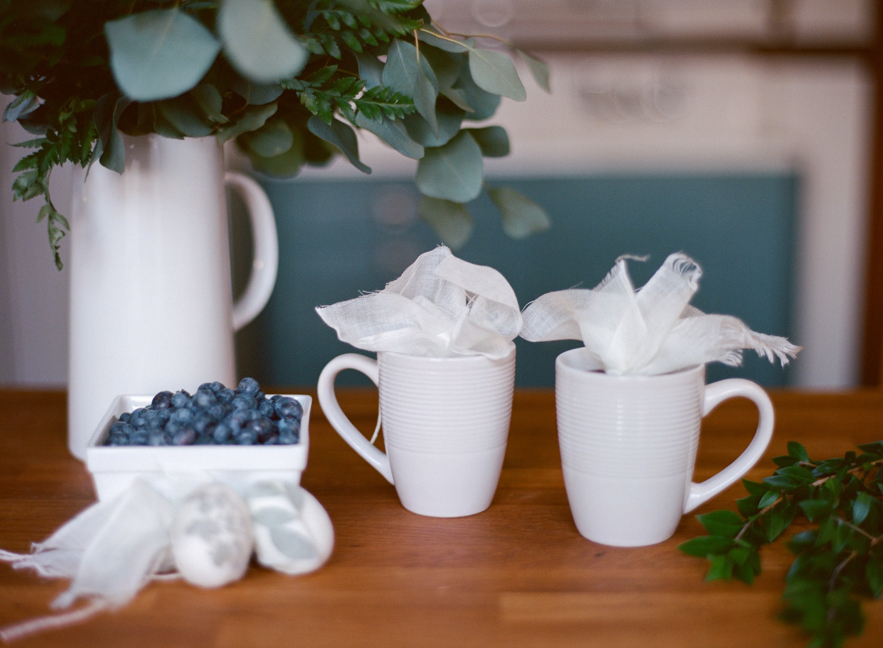
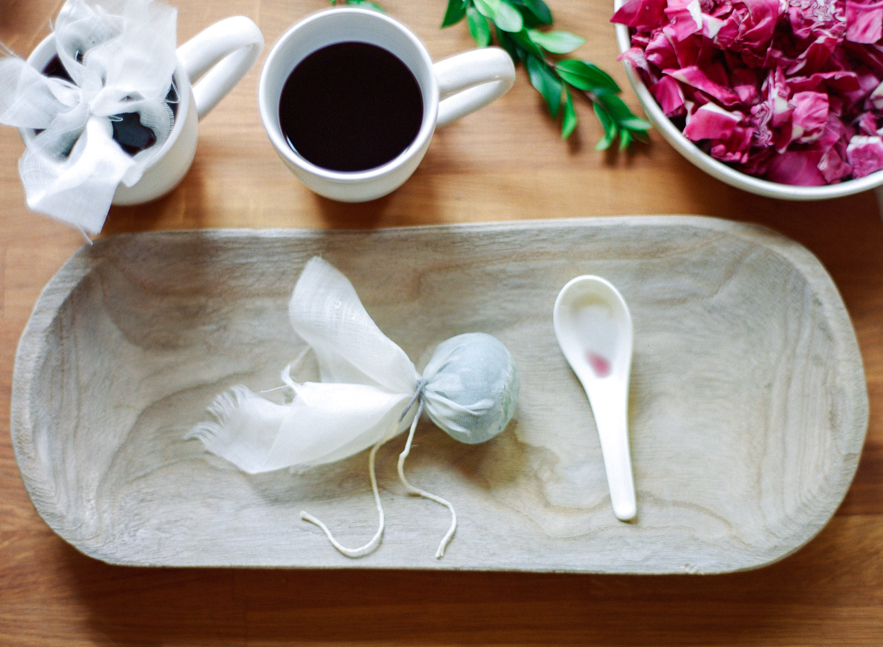
Mugs for dye and spoons to retrieve the eggs
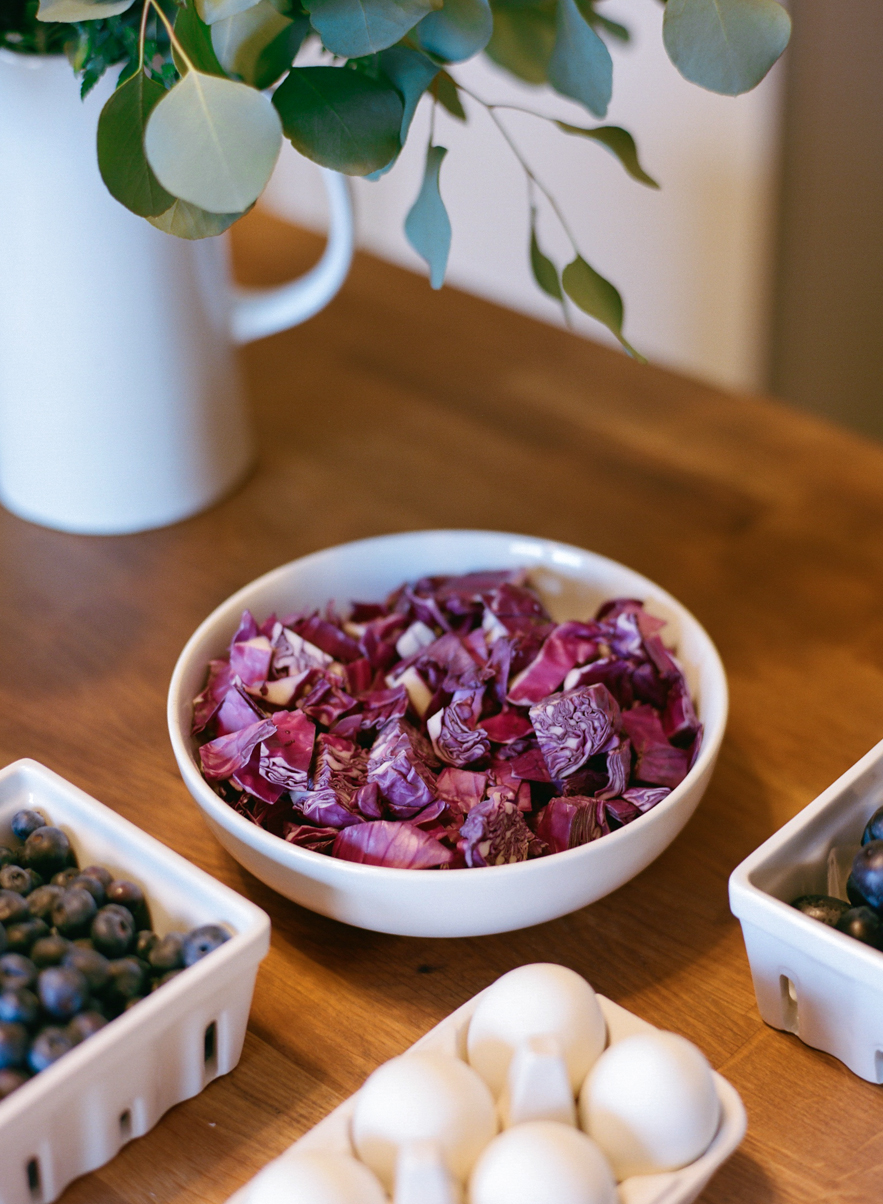
Red cabbage (robin-egg blue eggs), Blueberries (gray & blue eggs), & Grapes (lavender & dark blue eggs)
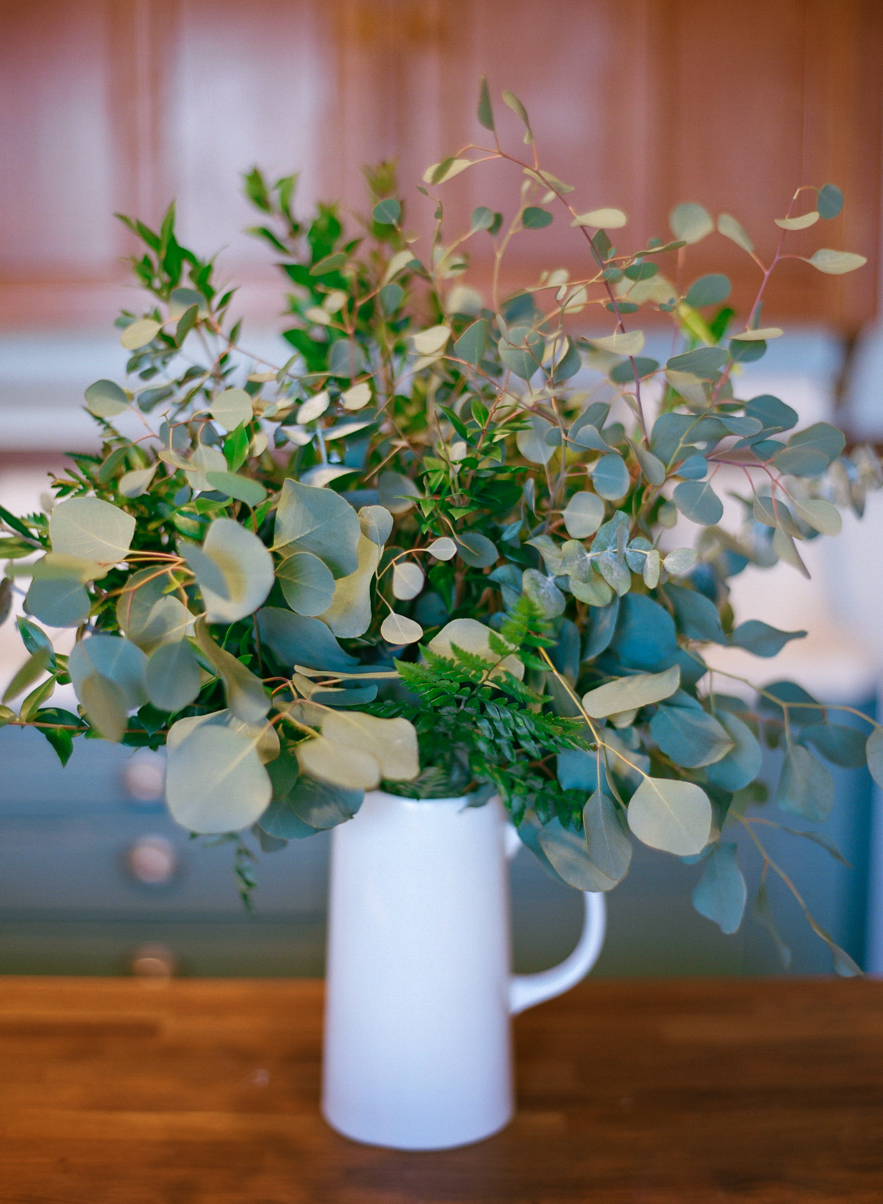
Herbs, Leaves, or Flowers for imprinting
Drying wrack or cutting board
Instructions:
1. Prepare the dyes of your choice:
Cut up the cabbage into chunks. Rinse the blueberries and pick the grapes from the grape stem. Add the dye matter, (red cabbage, blueberries, grapes, etc) each type individually, to a pot of water and bring it to a boil. Turn the heat down to low and simmer, covered, for approximately 15 to 30 minutes. Then, use a slotted spoon to strain out extra pieces of the dye matter so you liquid is all that remains. Let it cool to room temperature and pour into mugs or small bowls. (Optional: Add 1 tbs of vinegar per cup of strained liquid. Occasionally, this will result in more vibrant-colored eggs)
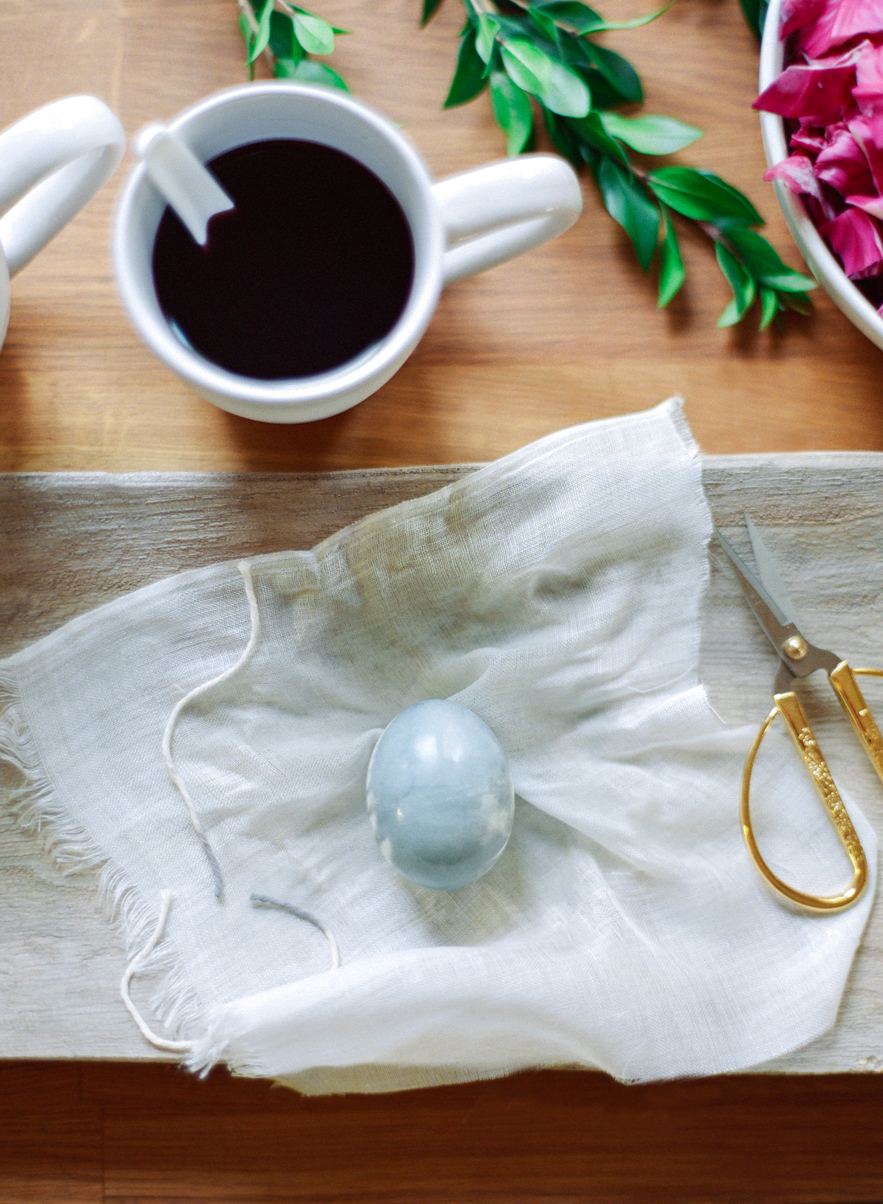
2. Cut your cheese-cloth (or nylons) into 6”x6” squares. Set aside.
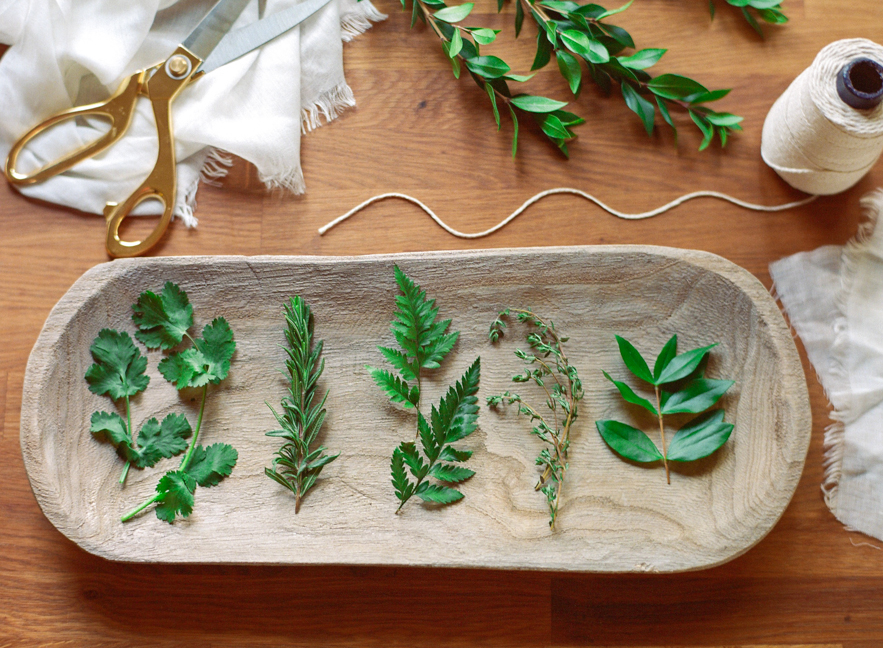
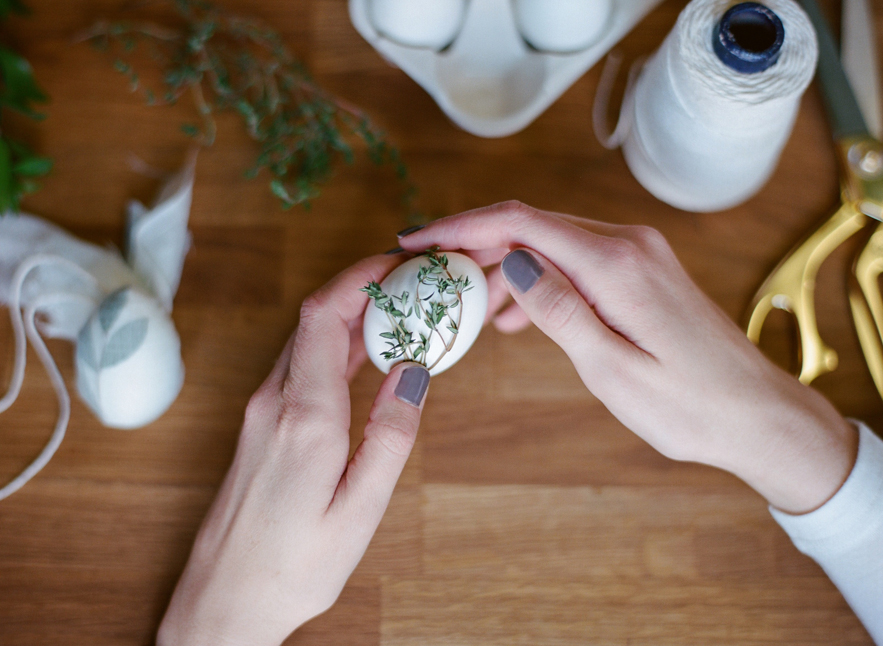
3. Select your botanical, herb, leafy, or floral imprint clippings. I used Cilantro, Rosemary, Fern-leaf, Thyme, & Italian Ruscus. Clip small egg-sized springs to use as an imprint. Set aside.
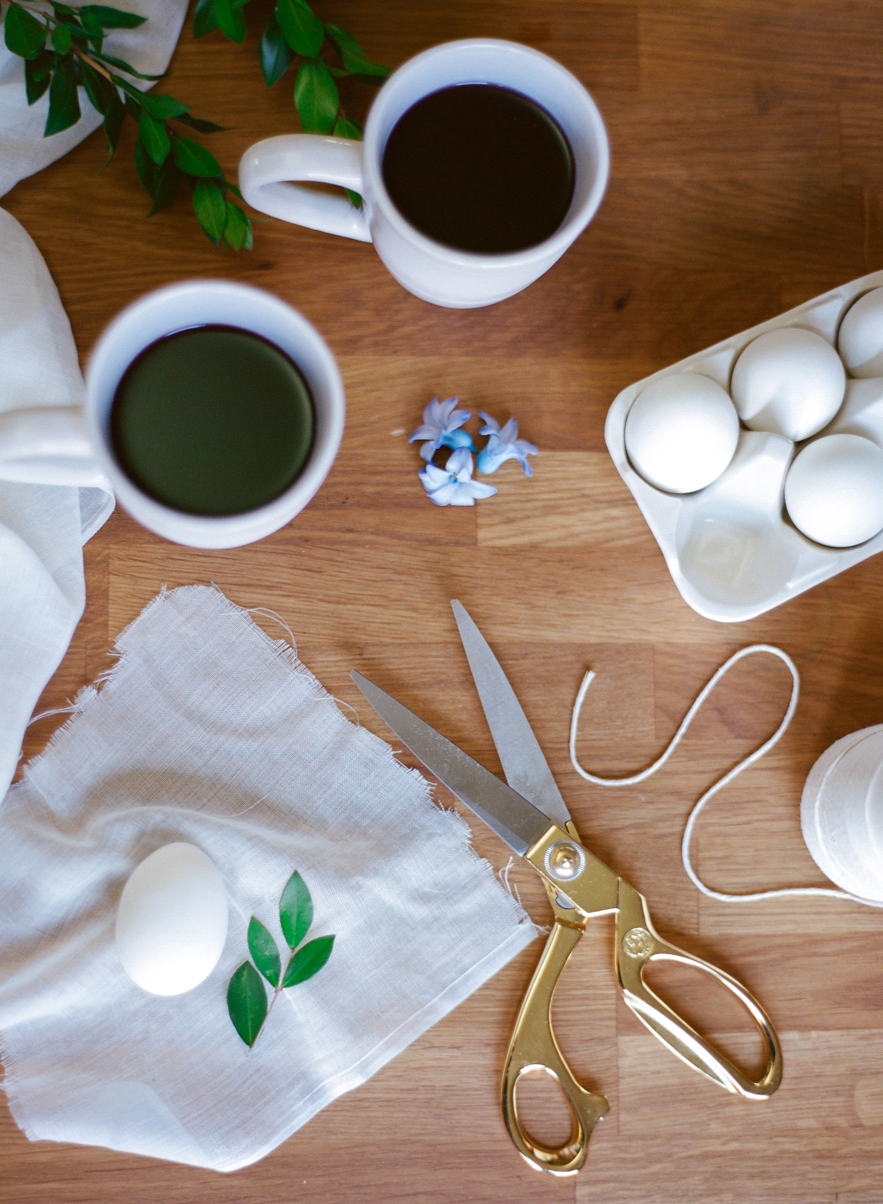
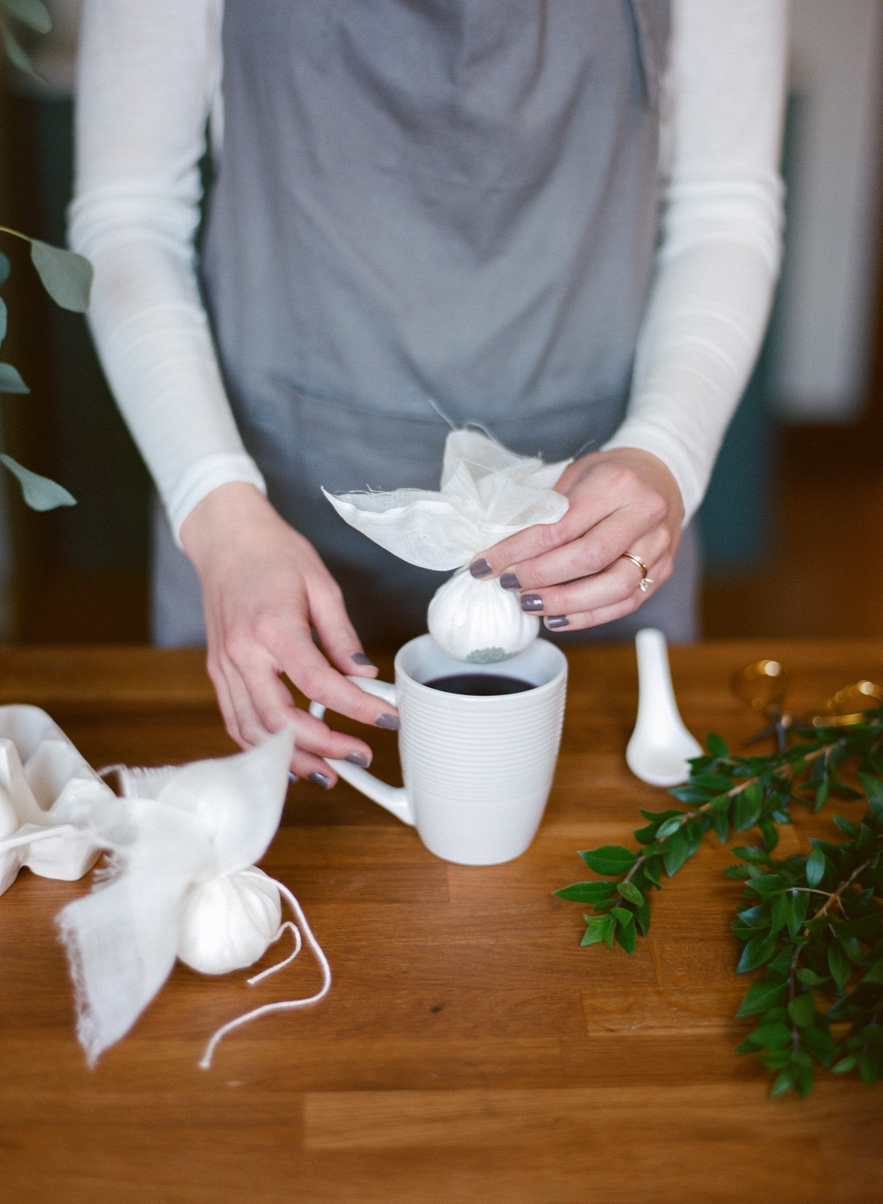
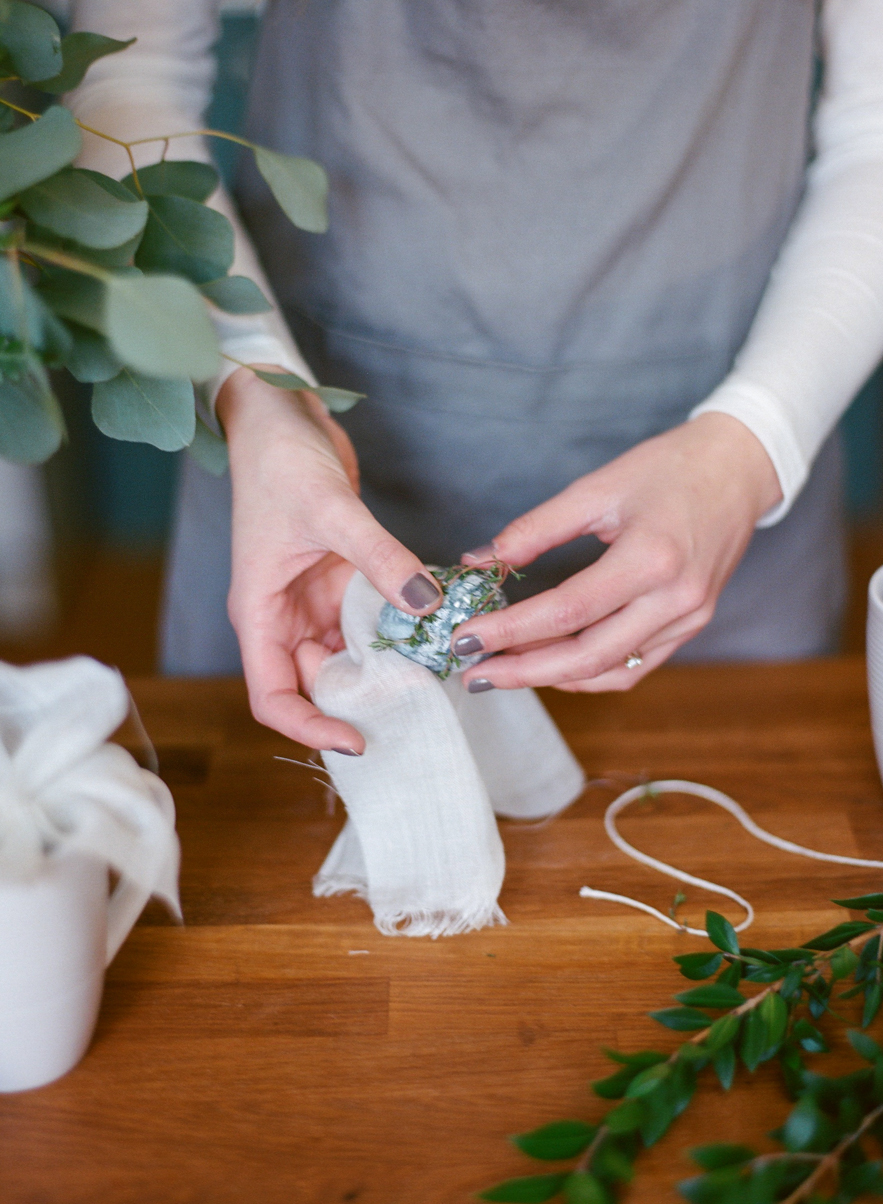
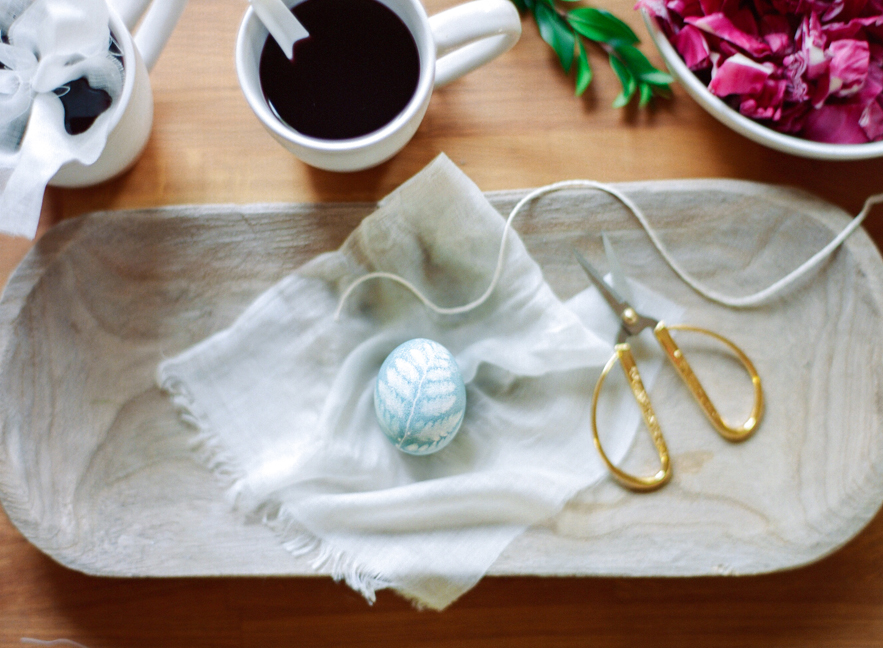
4. One at a time, select one sprig and carefully hold it firmly against the egg. Tightly begin wrapping one of your cheese-cloth squares over it, twisting all the ends together to hug the egg firmly. (You can also use a pair of nylons). Secure the cheese-cloth tightly with a piece of string or a rubber band.
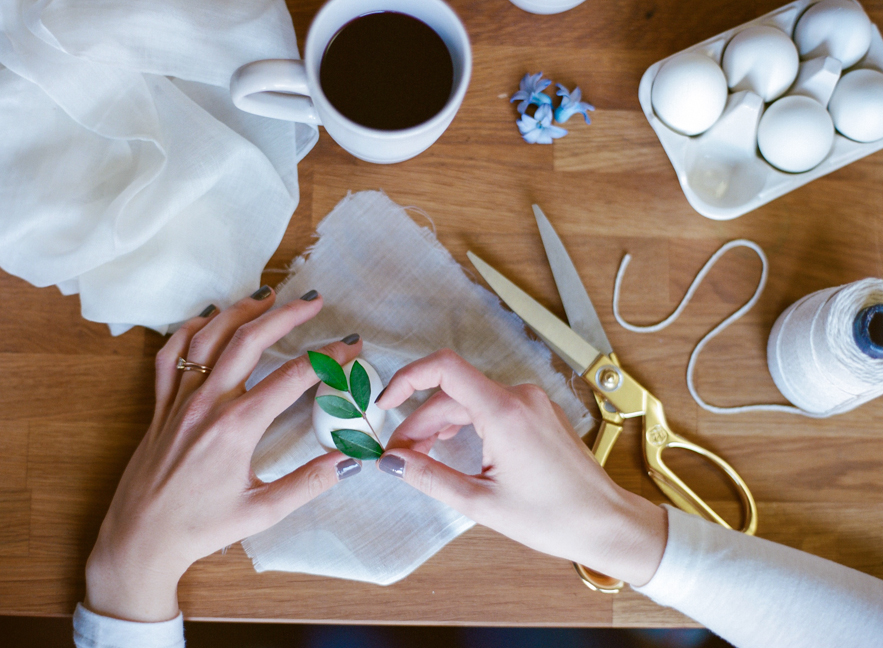

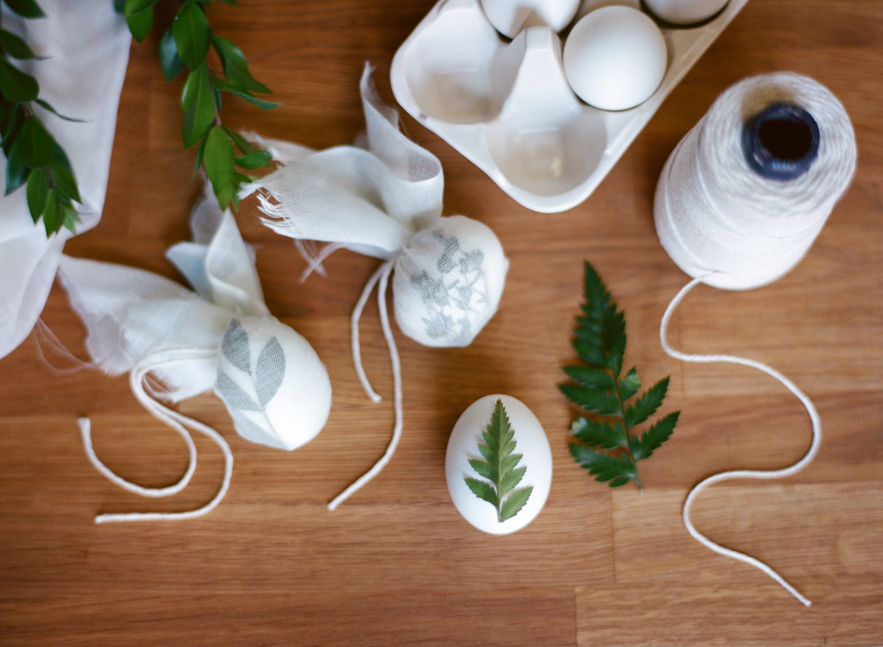
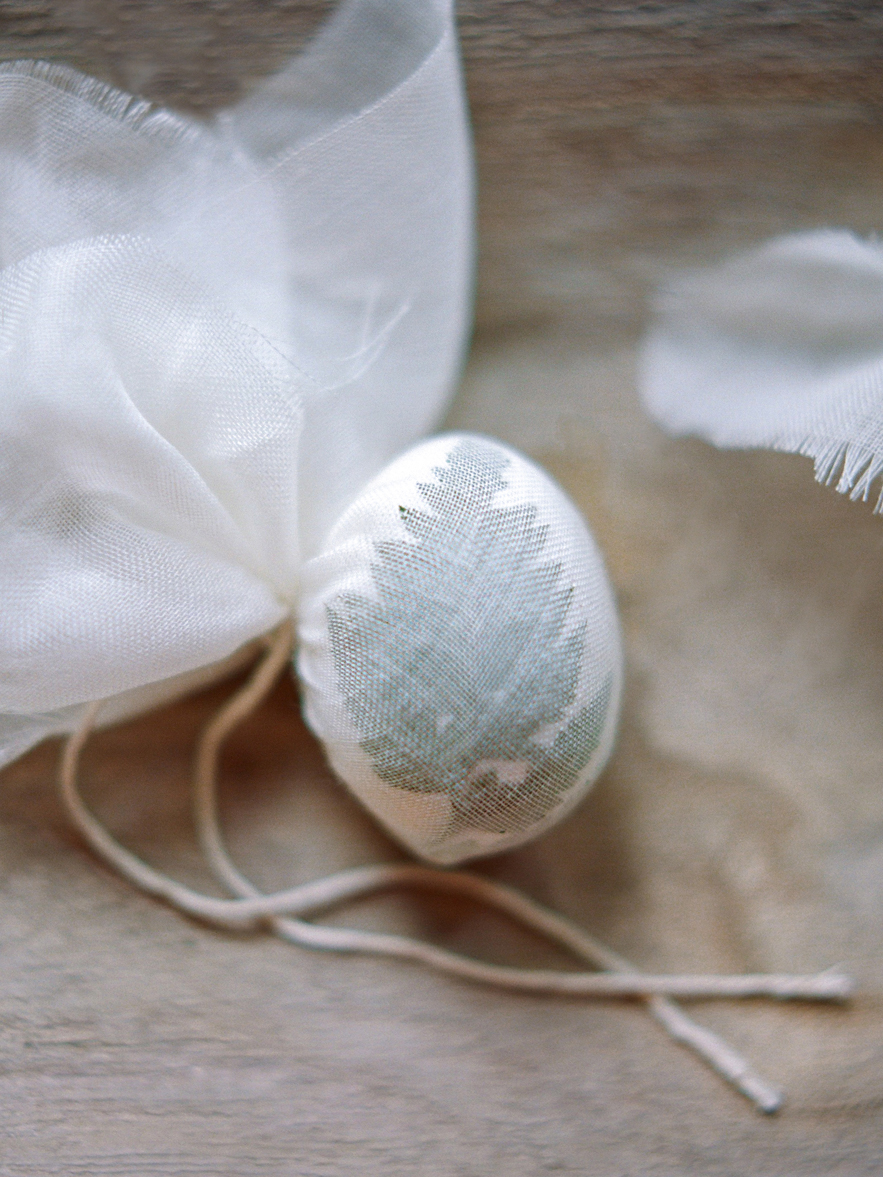
5.Once all your eggs are wrapped, submerge the egg entirely into you choice of dye. Repeat with all eggs/sprigs you’d like to try. Note: Be sure your sprig, leaf, or flower looks flat and tight against the egg, as that is the portion of the egg that will not color, thus, imprinting the egg after it’s dyed.
6. Place the mugs of dye (with the submerged eggs inside) into the refrigerator until the desired color is achieved. (Note, you will only need to do this if you have hard-boiled the eggs and want to eat them later.) With the eggs pictured, some of them colored in a few hours; others, I left in the refrigerated dye-matter for 2 days. I found that rotating the eggs between the dyes (especially from the cabbage to the blueberry and then to the grape juice) over the course of a few days, usually revealed a darker colored egg.
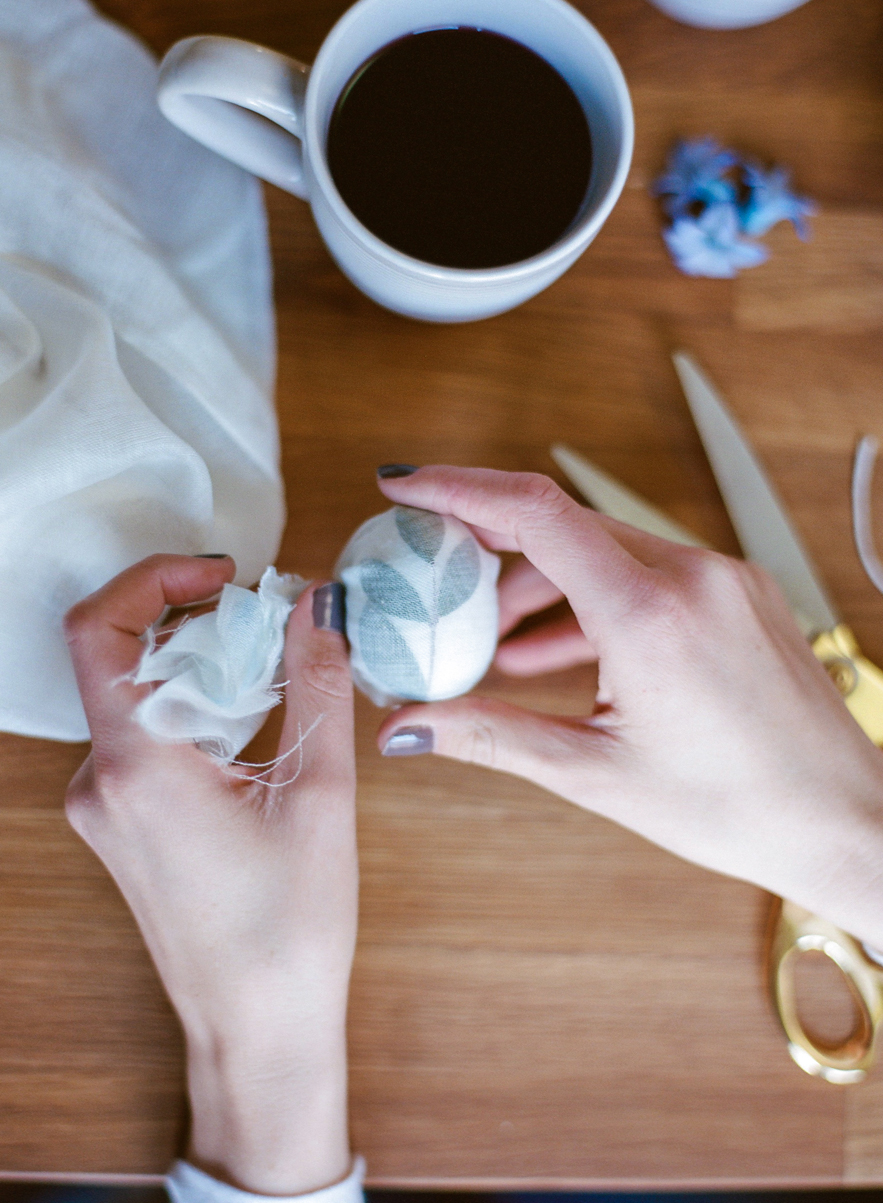
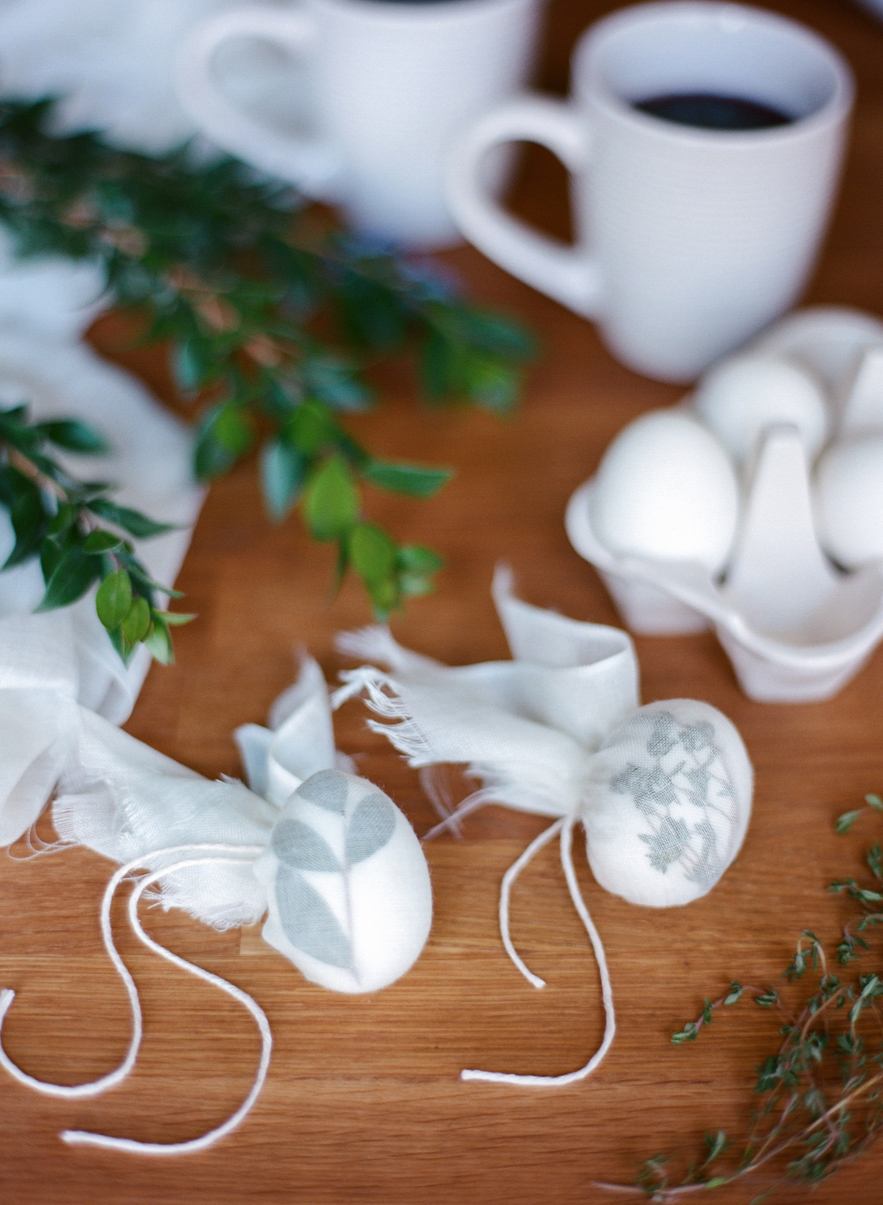
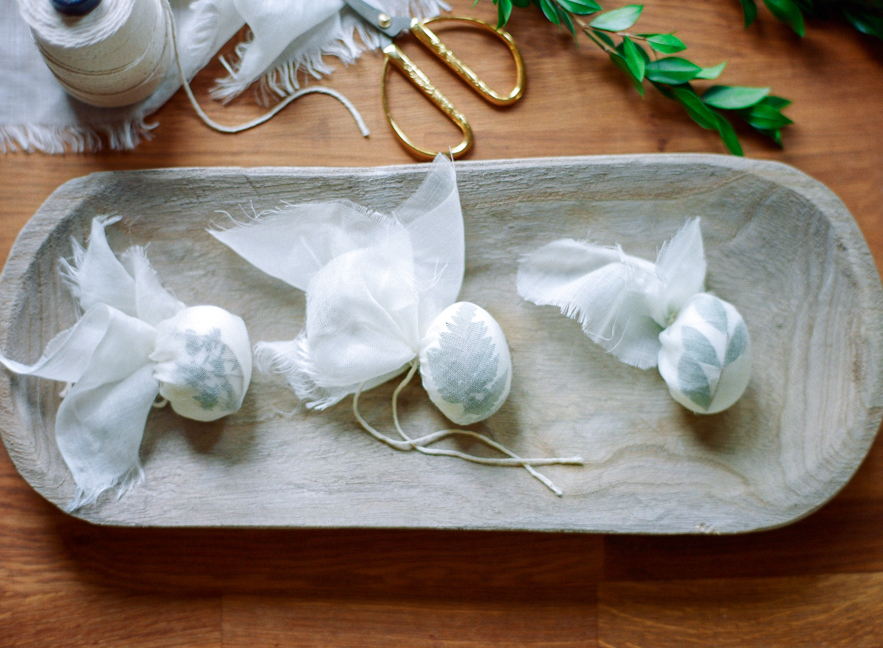
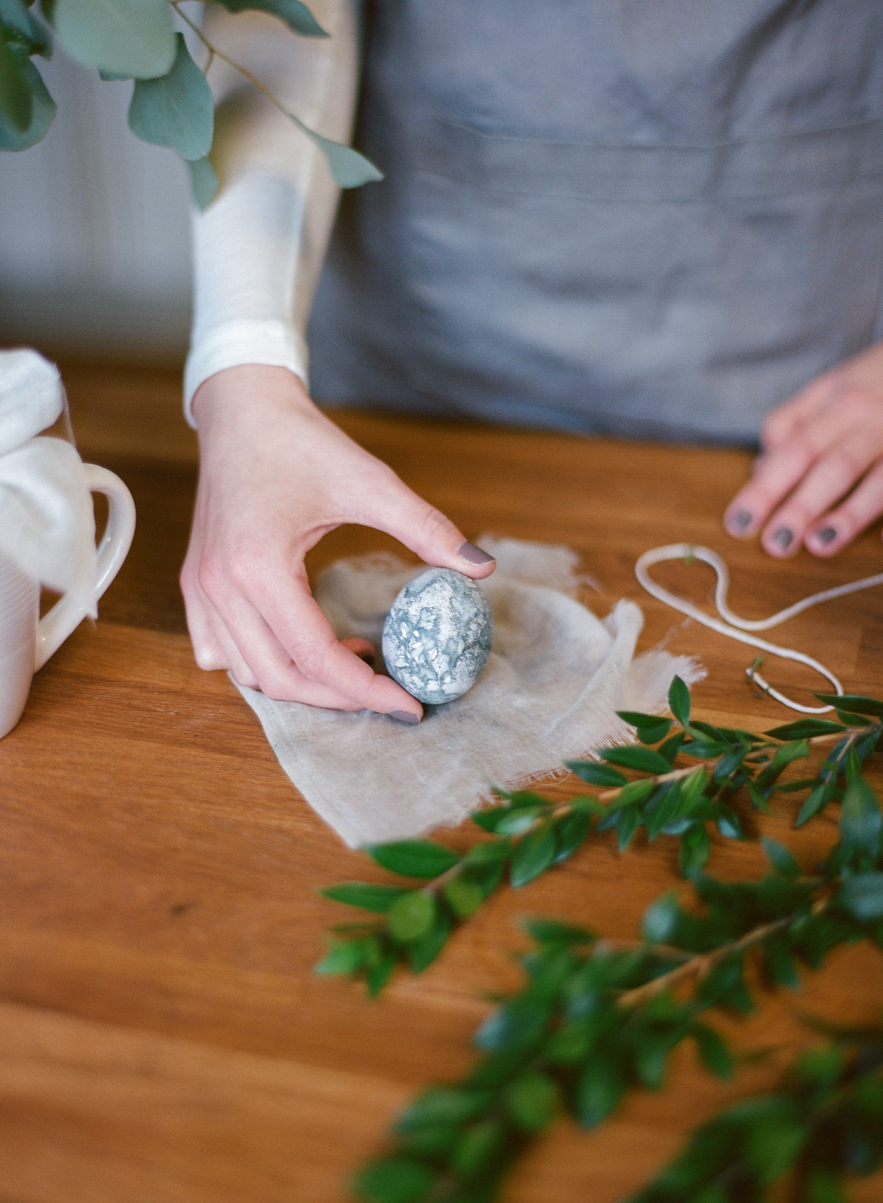
7. Once the color desired is achieved, use a drying rack (or cutting board) to removed the eggs from the dye-matter and let them air dry for a few minutes. Then, carefully cut the string and unwrap the cheese-cloth bag to reveal your imprint and your naturally dyed egg.
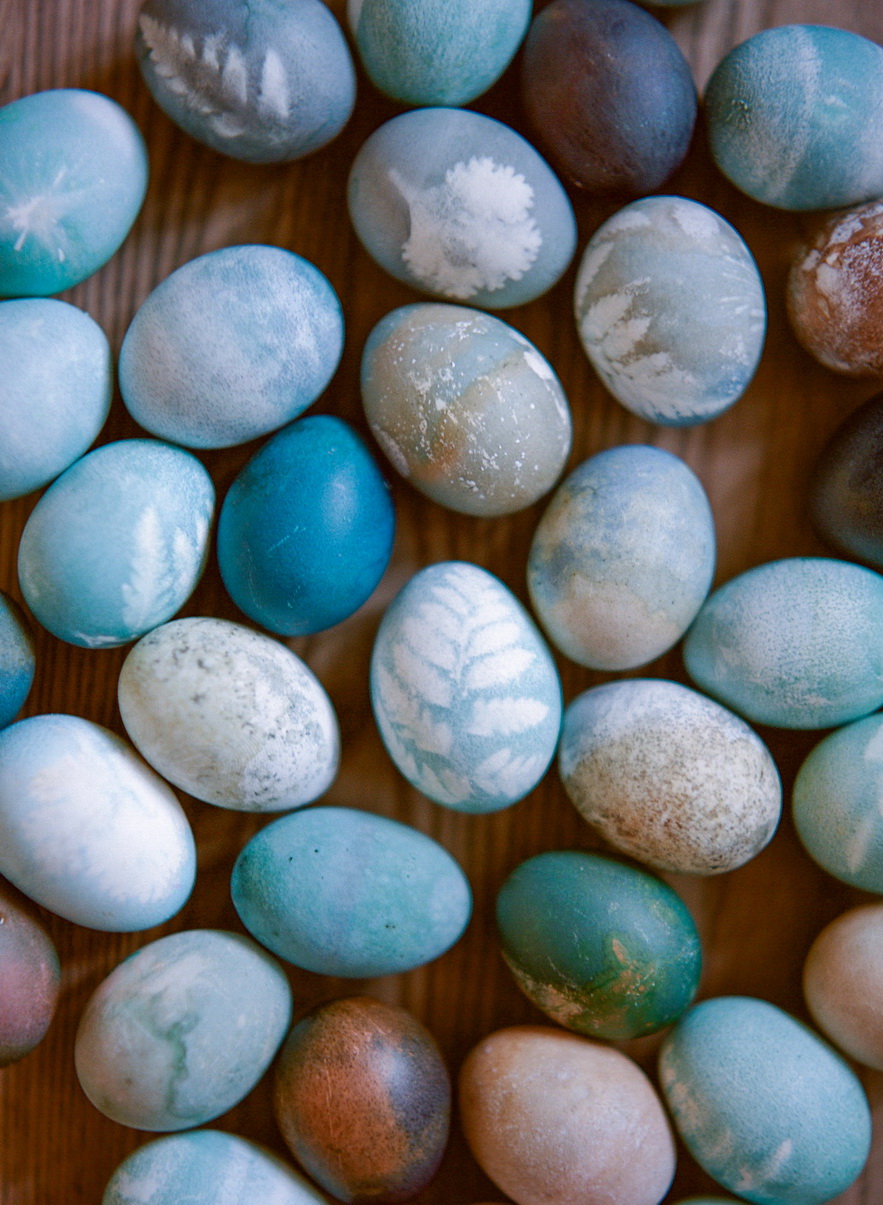
8. Use these pretty & edible eggs as place-settings at your Easter Brunch Table, or fill a bowl with them as a centerpiece.

Tid-Bits:
- I used three” brands” of organic eggs and they all colored differently. The treatment of these eggs, even though Organic, must be different, because eggs from the same carton would react totally differently even though they were prepped the same and dyed in the same dye material. On the eggs where they have multiple tones of color or markings unrelated to the imprints, this was entirely due to the eggs themselves. This part made the whole project so fascinating because with each egg I unwrapped, I was amazed at the results.
- I did try dying a few brown eggs and though the imprints didn’t work as well, leaving them in the dye material deepened their color tremendously over the course of a few days, even though, at first, they didn’t seem to be taking the color. On the brown eggs, the addition of Vinegar in their mugs seemed to help. Sometimes, the acid in the dyes seemed to semi-strip the brown colors off the eggs, given it an almost water-colored look.
- Grape Juice is inherently acidic, so it almost “eats away” at the shell of the egg. I found the best results occurred when I didn’t rinse the egg from it’s dye material, but, rather, let it harden and turn almost white as it crusted onto the surface in a marbling of purple color. On the ones I did rinse under water after dying, they turned a very light lavender, but the imprint was still visible.
♥ Special thanks to Style Me Pretty Living for featuring this tutorial today, and to Robyn of Bare Root Flora for our Easter Table. ♥
Design, Concept, & Photography: Shannon Von Eschen | Assistant & Food Stylist: Kendall Von Eschen