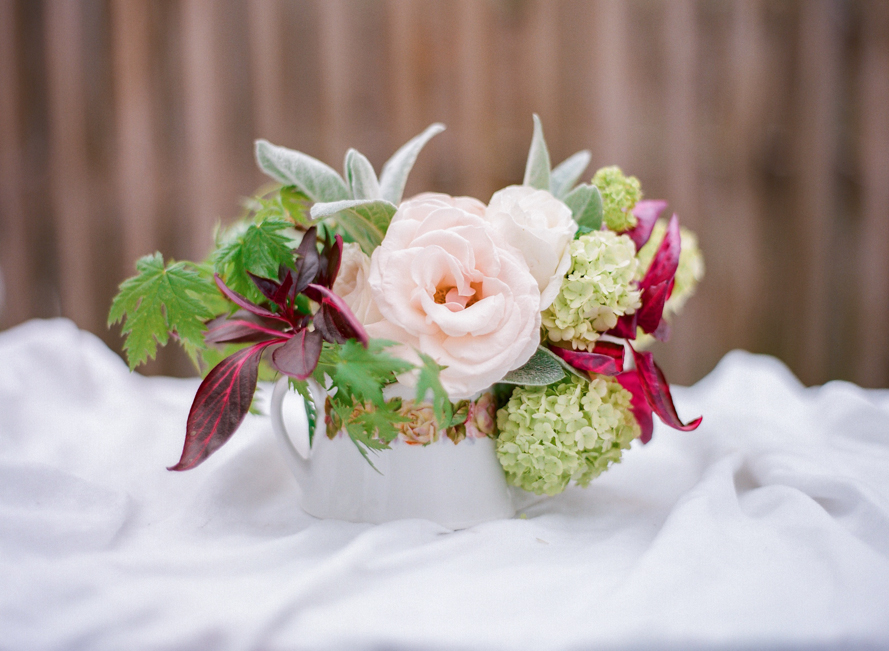
The other day, I spent the afternoon with a good friend chatting over lunch in her kitchen and brainstorming on ideas for Mother’s Day gifts. Only minutes later, she was clipping flowers from her garden and I was loading film after we’d come up with a beautiful way to gift her mother something unique, inexpensive, and entirely sentimental. Using a few heirlooms Robyn’s mother had given her over the years (a beautiful hobnail milk glass candy dish, a sweet floral sugar bowl, and a darling little silver teapot), we found ourselves foraging her garden for greenery and flowers to fill these family treasures with. Below, Robyn explains the process. And let me just say, I’m still jealous that all this came out of her garden!
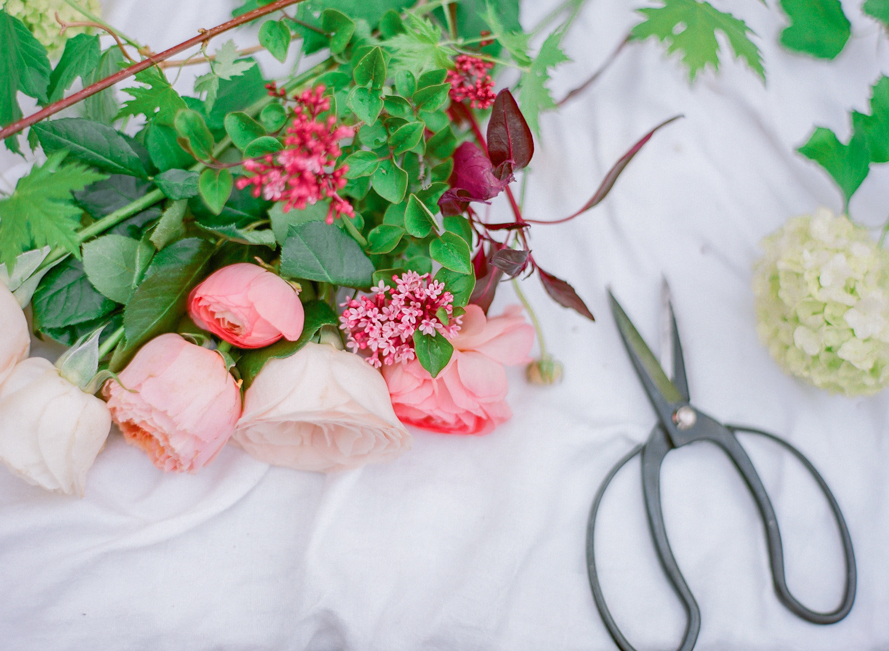
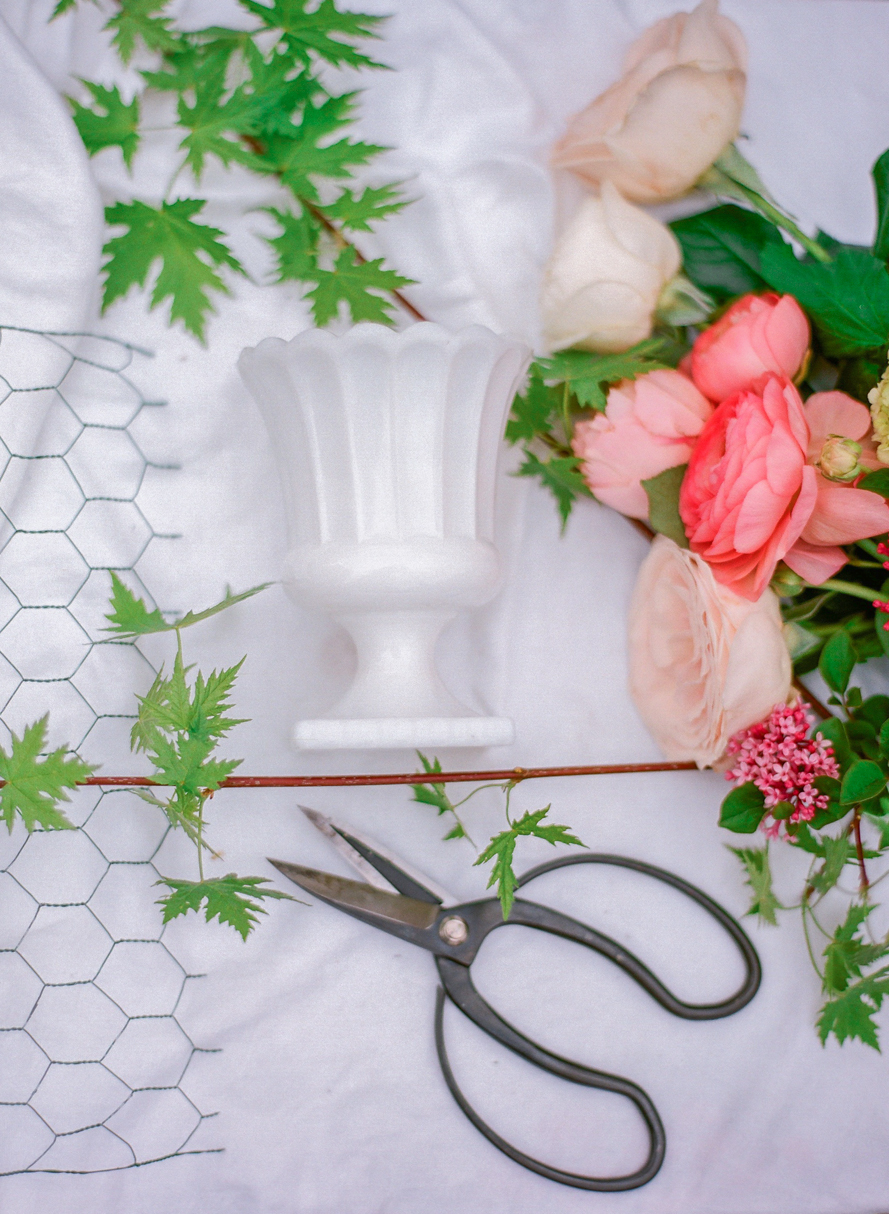
* A pretty little opaque vase to showcase your blooms (or anything else your mother may have given you that could act as a vase.)
Step 1:
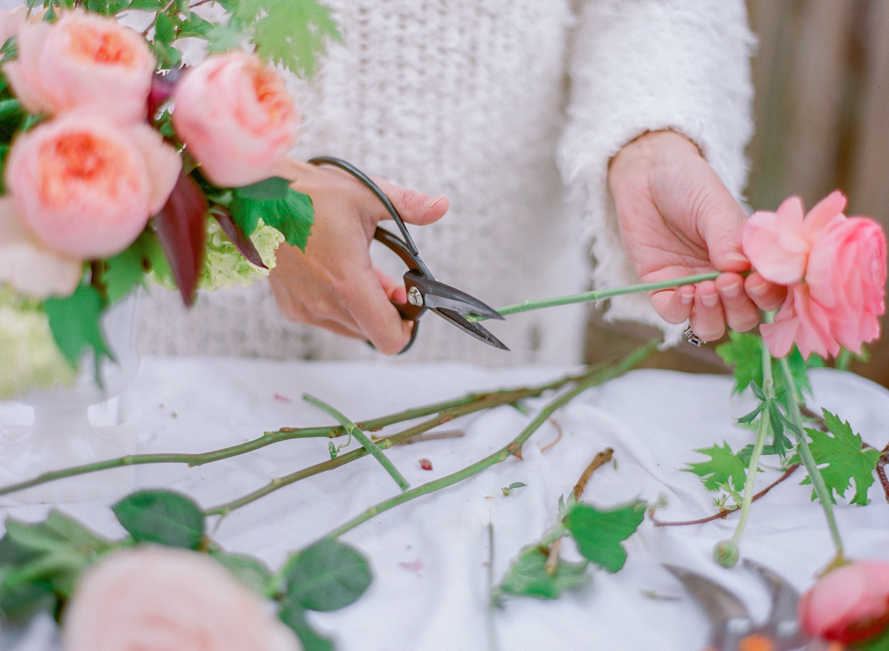
The first step to any gorgeous floral arrangement is to prepare your flowers! Make sure you clean off any foliage that will fall below the water line. Leaves in the water will encourage the growth of bacteria, which will shorten the life of your arrangement.
Step 2:
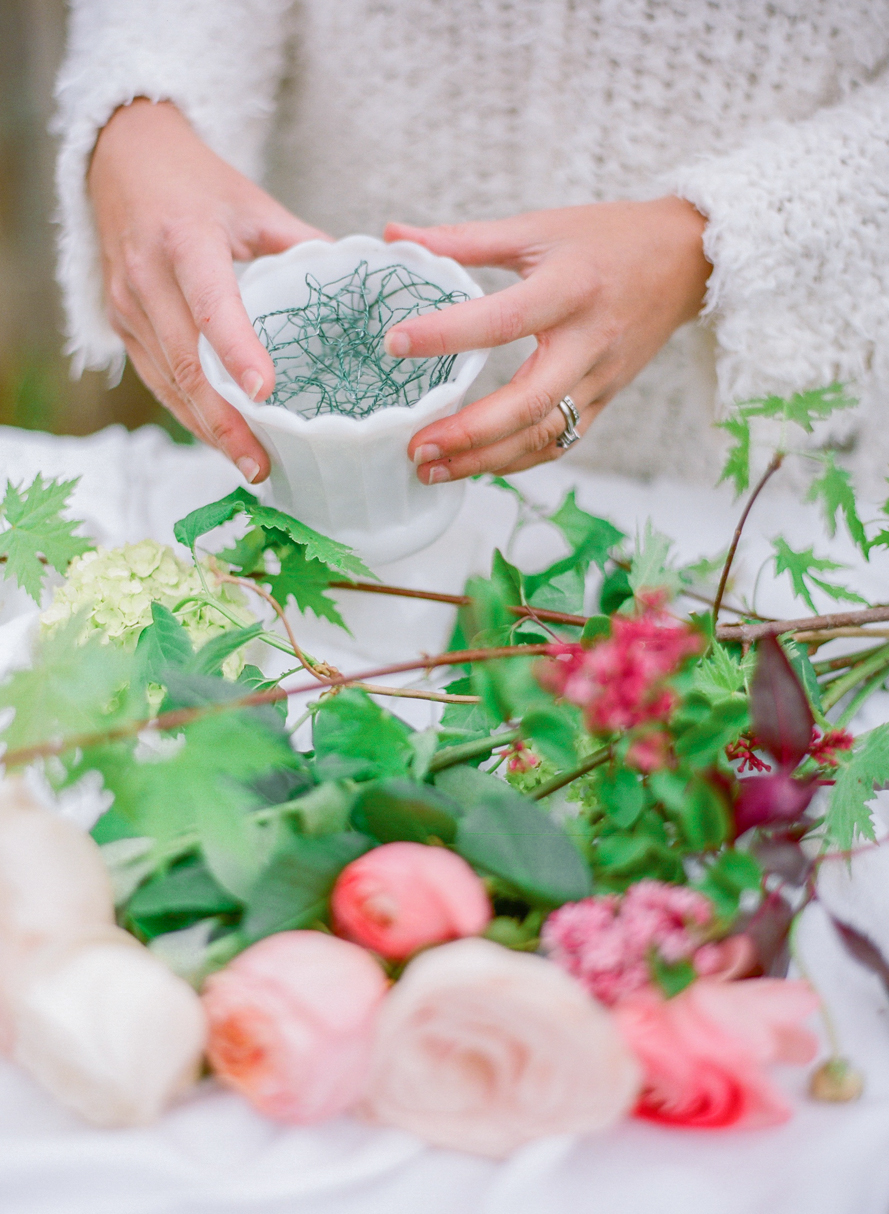
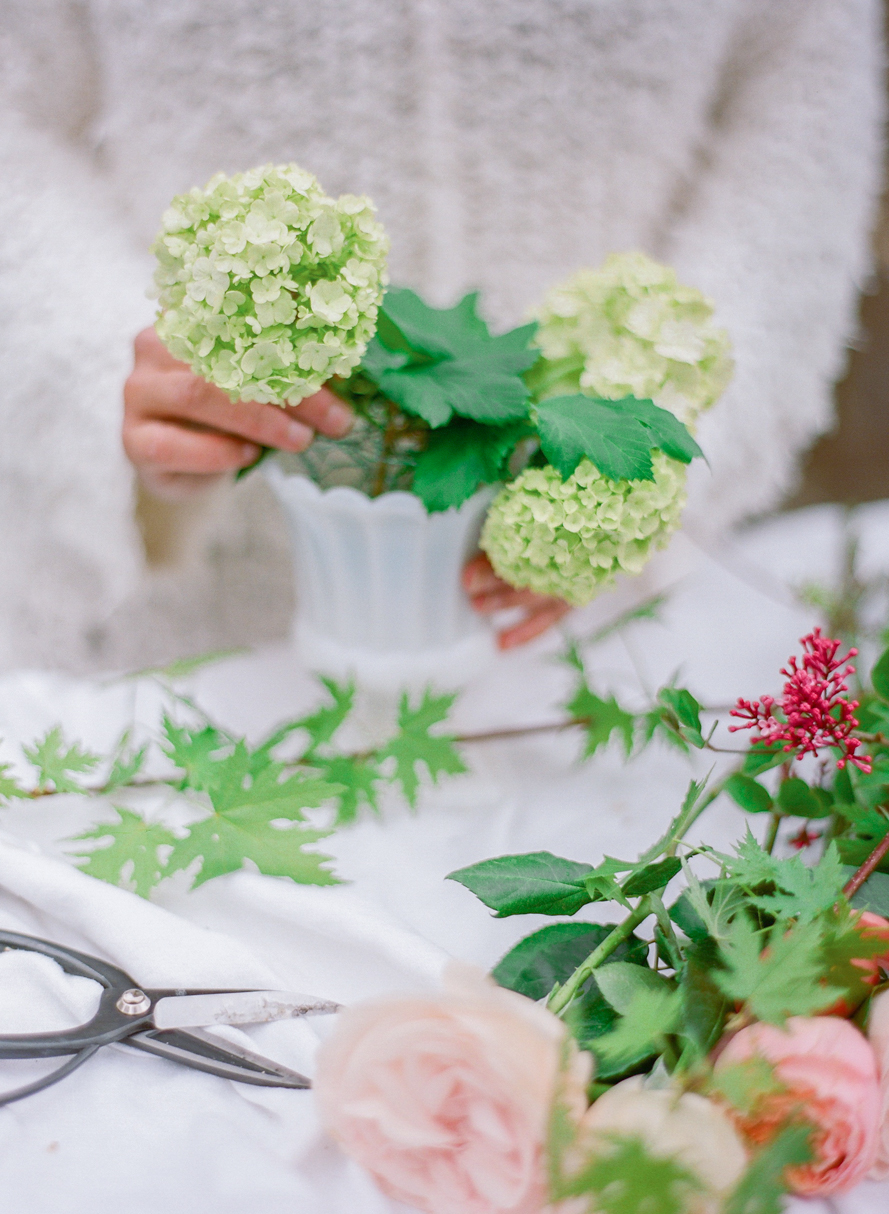
Next, prepare your container. Bend your chicken wire to fit snugly inside the container. The chicken wire acts as a grid to hold your flowers where you want them, giving your design the shape you want.
Step 3:
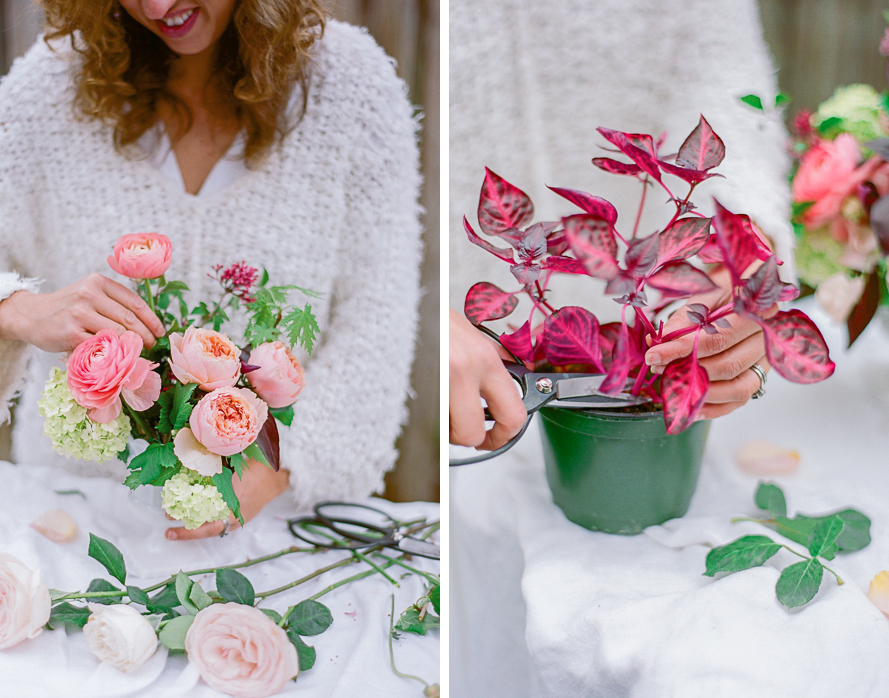
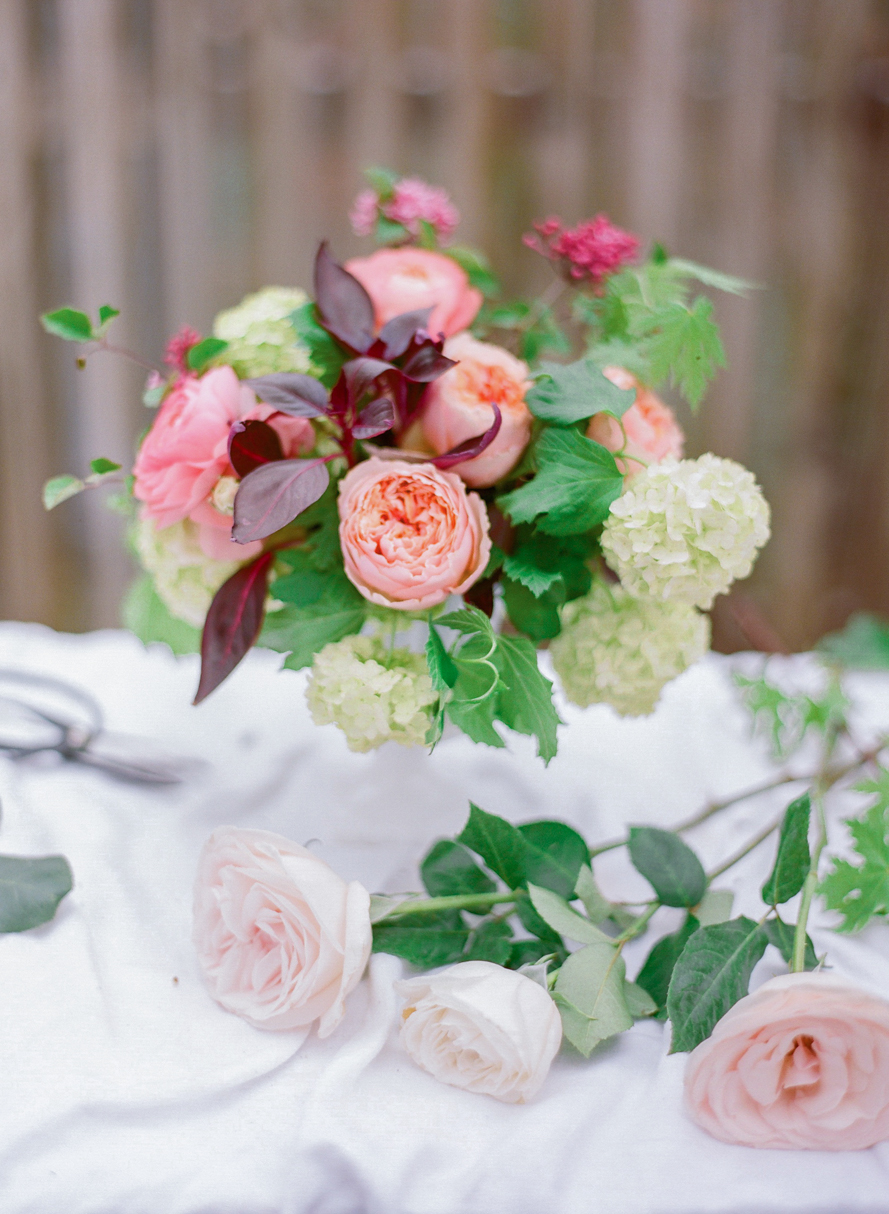
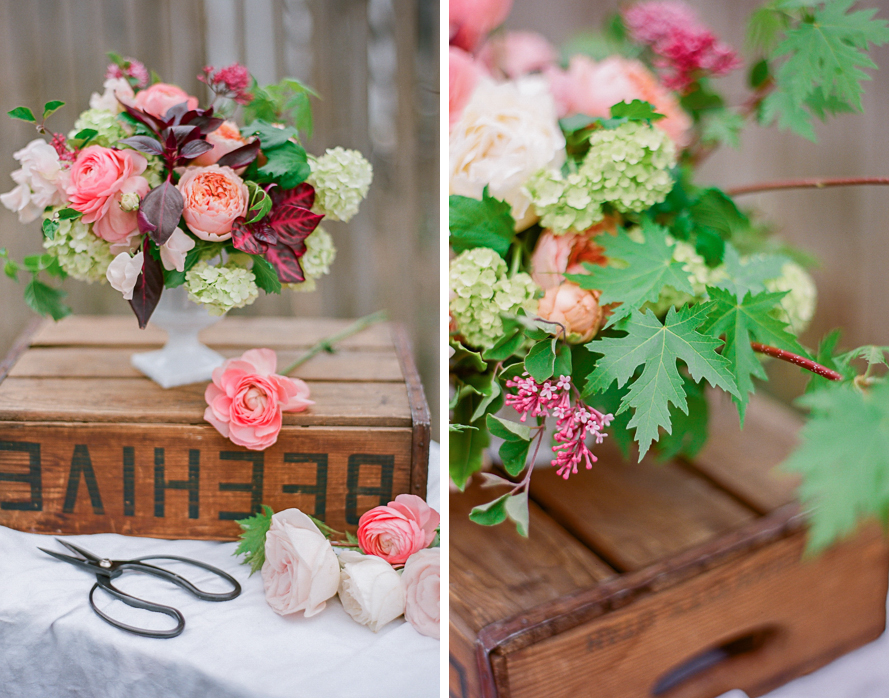
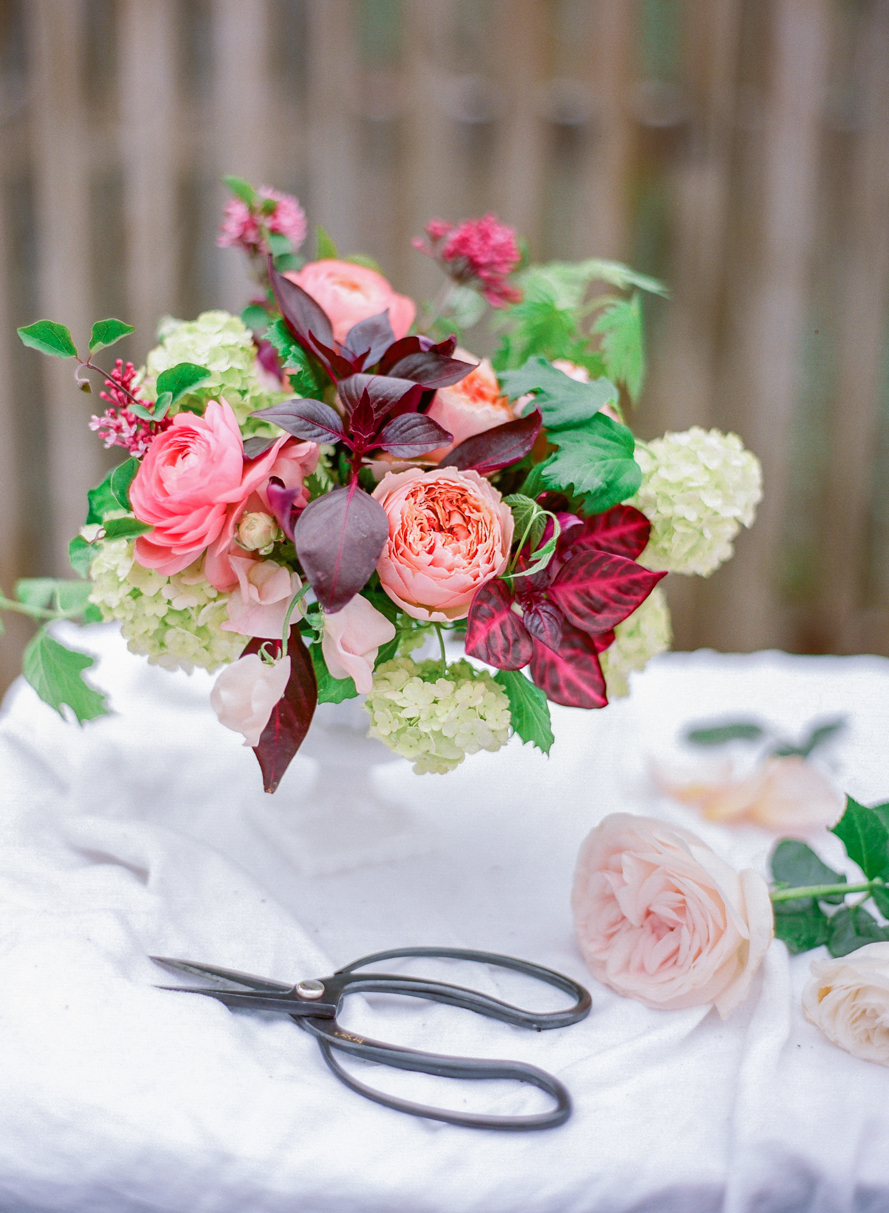
Begin by gathering and placing some of your large, fluffy flowers in a group–-pictured, I use garden and spray roses. It gives the arrangement a beautiful focal point. Next, add in some of your longer-line flowers (in our piece we used snowball viburnum and pink lilac). Use the long-line flowers to create a wild, garden-esque shape. Movement is key, so let the flowers reach and swoop! It will give your piece so much life!
Step 4:
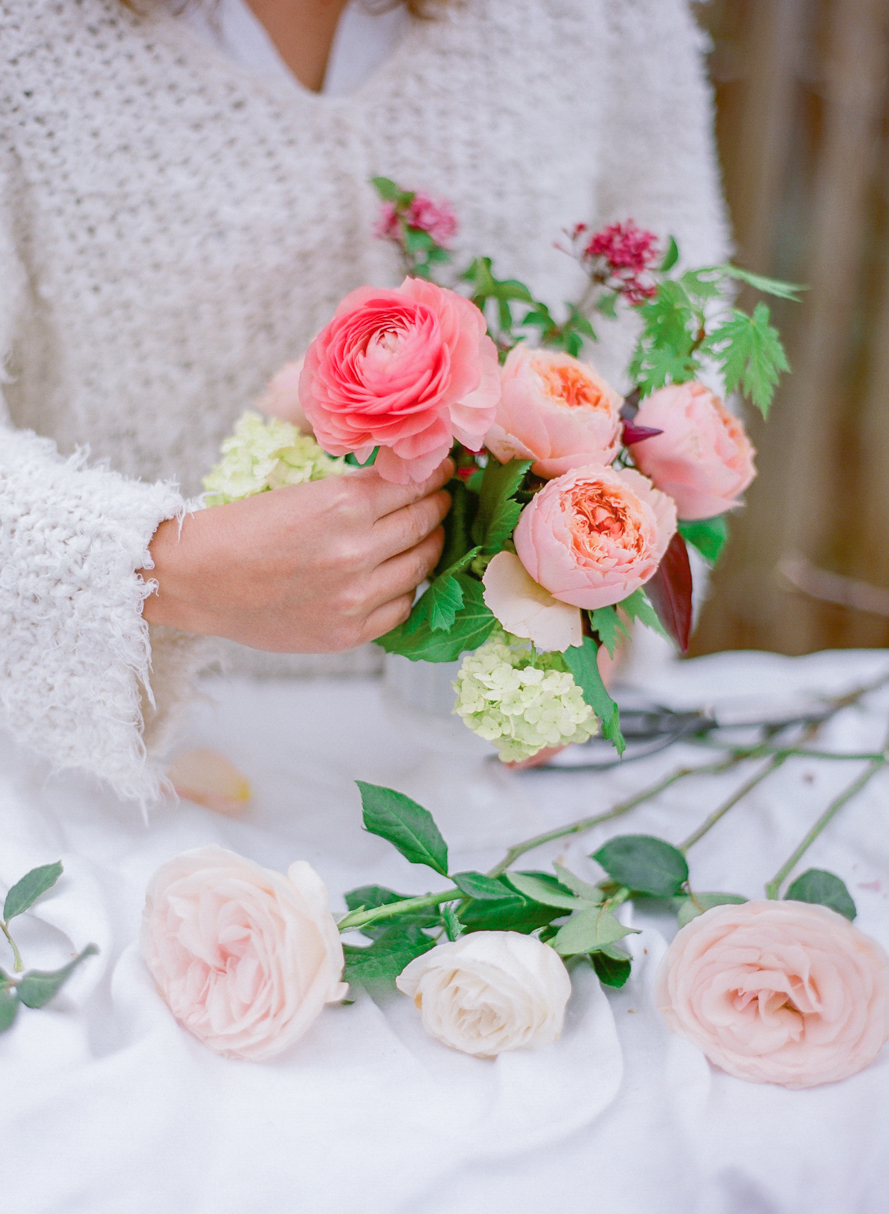
Turn your vessel around in slow circles as you design, continuing to place your larger, fluffier flowers a little lower, with your line flowers slightly taller.
Step 5:
We finished the arrangement with yummy foliages from the trees and shrubbery for texture and color. We even added a few clippings from a pretty house plant I had.
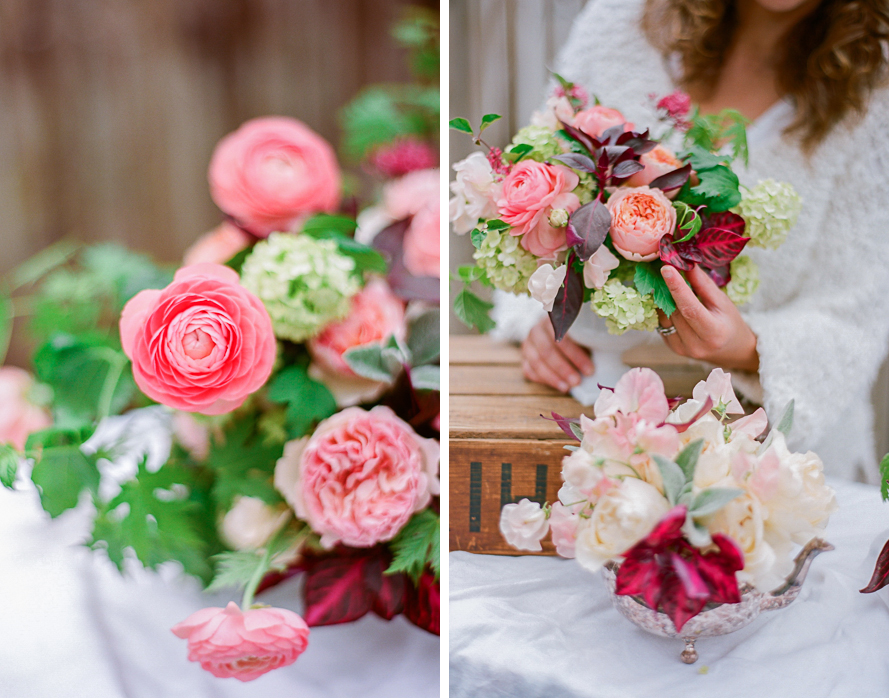
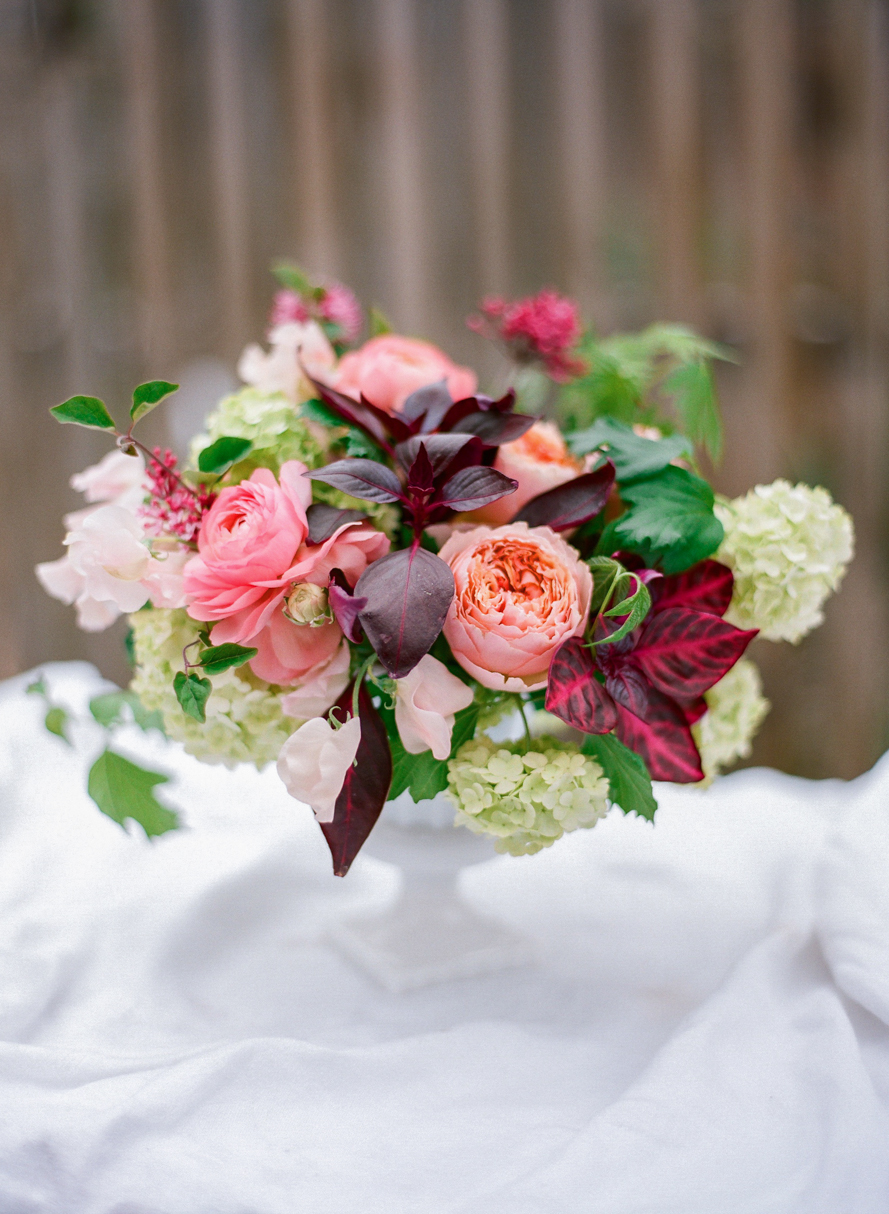
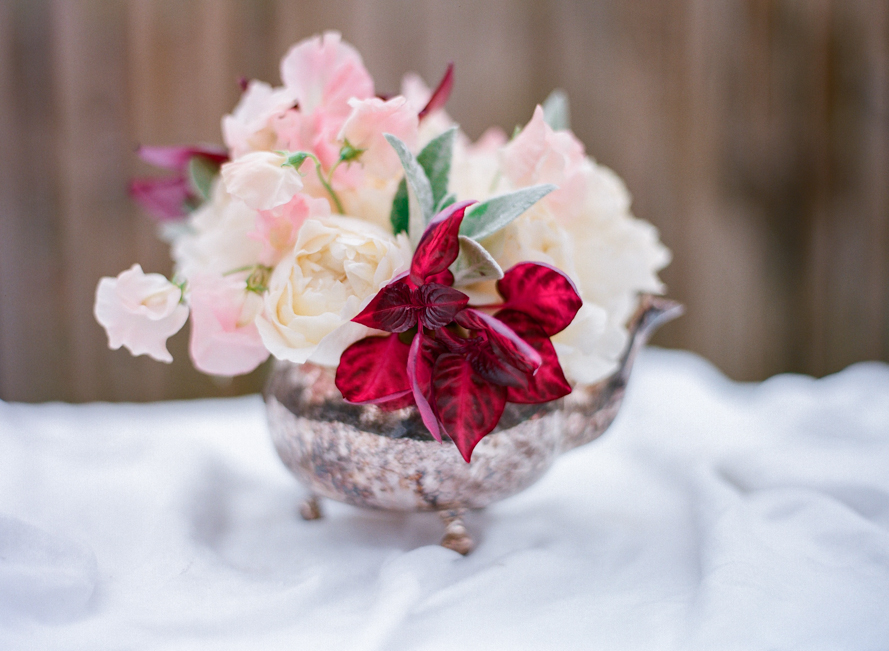
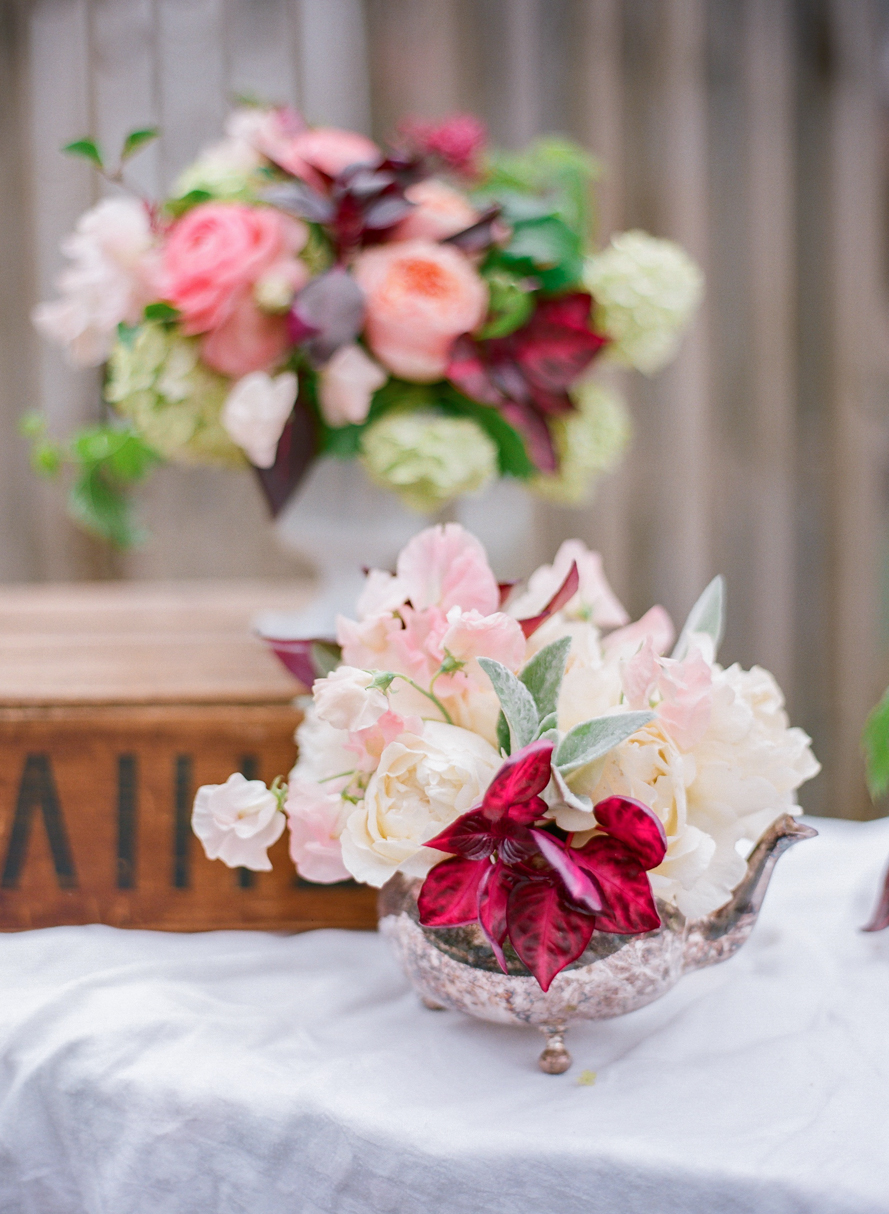
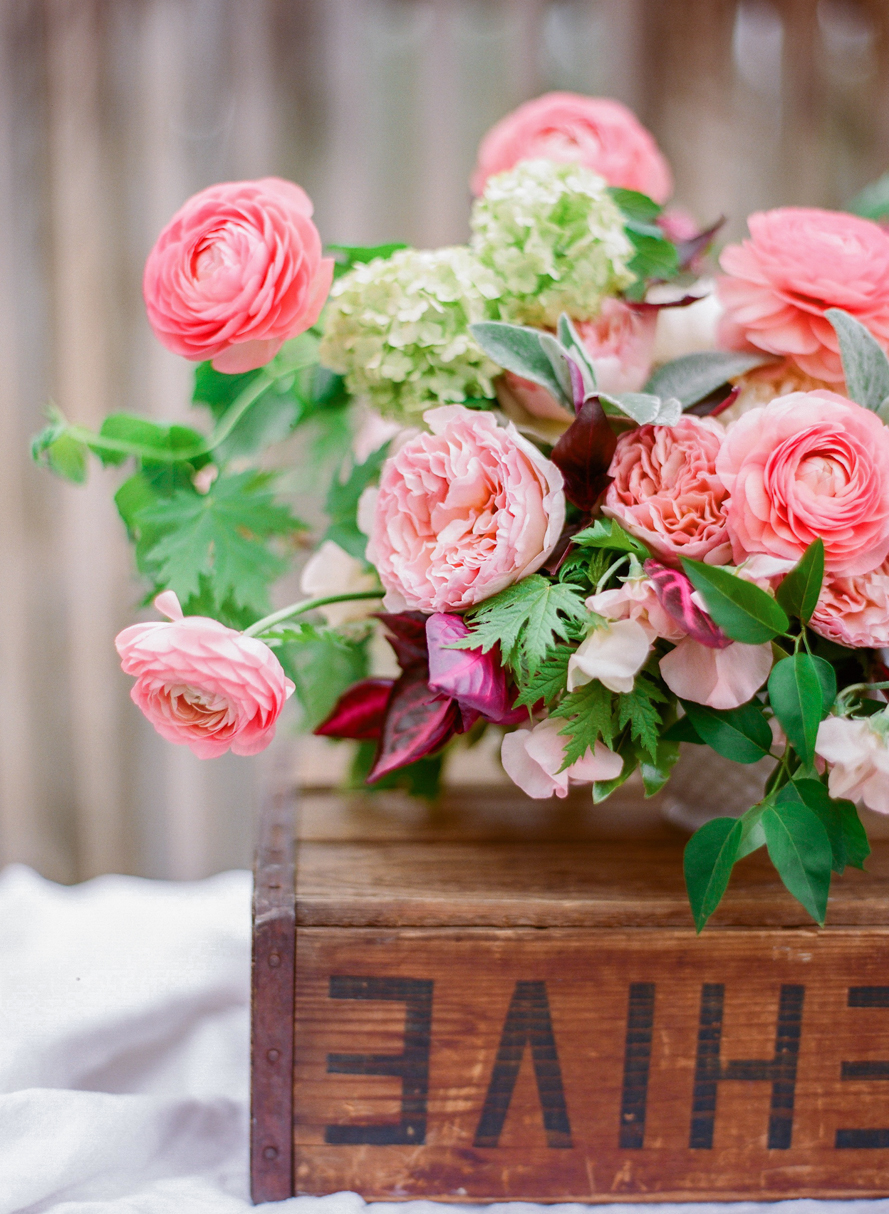
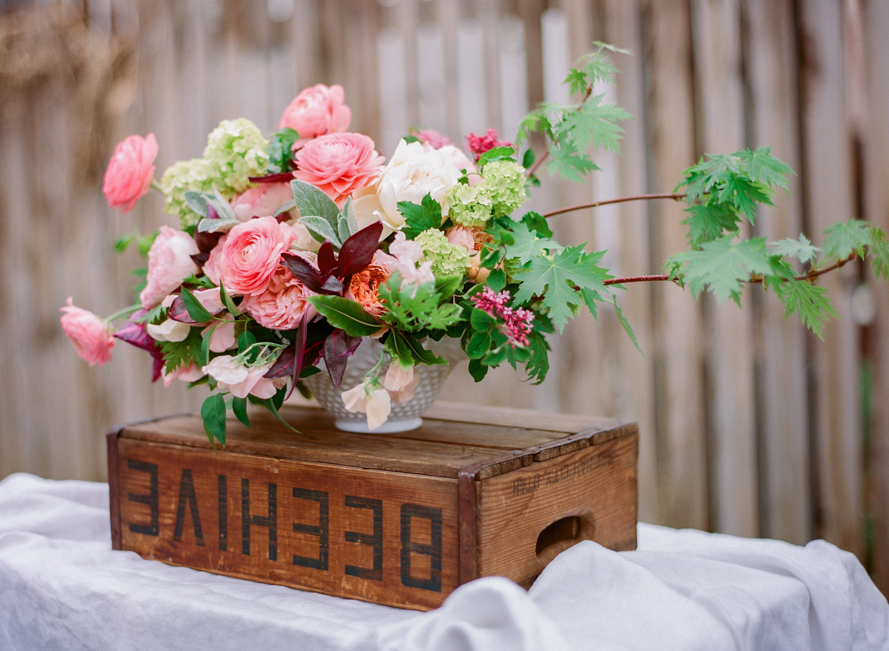
Floral & Design: Bare Root Flora | Scans: Photo Impact Imaging
And much love to Hearth Magazine & Belle Lumiere for featuring this tutorial.
