DIY Mother’s Day Garden Florals

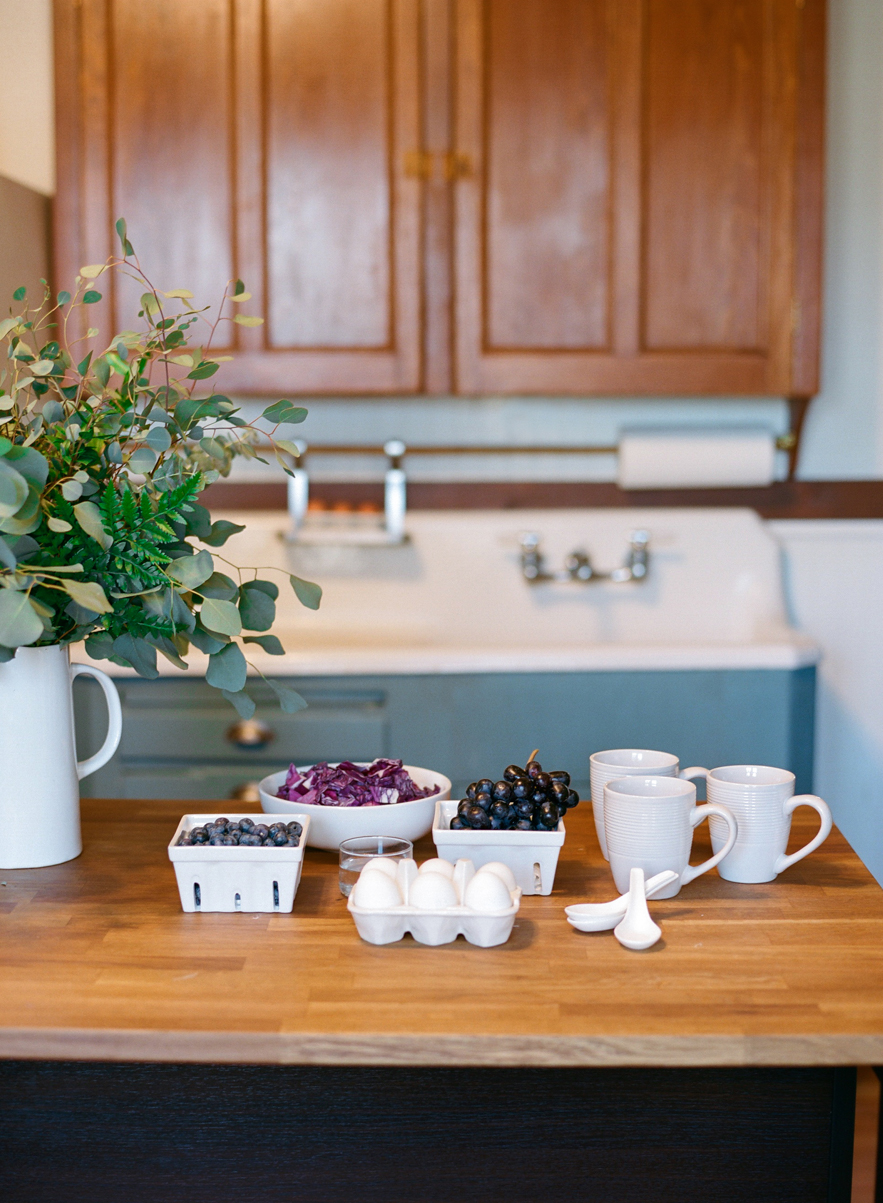
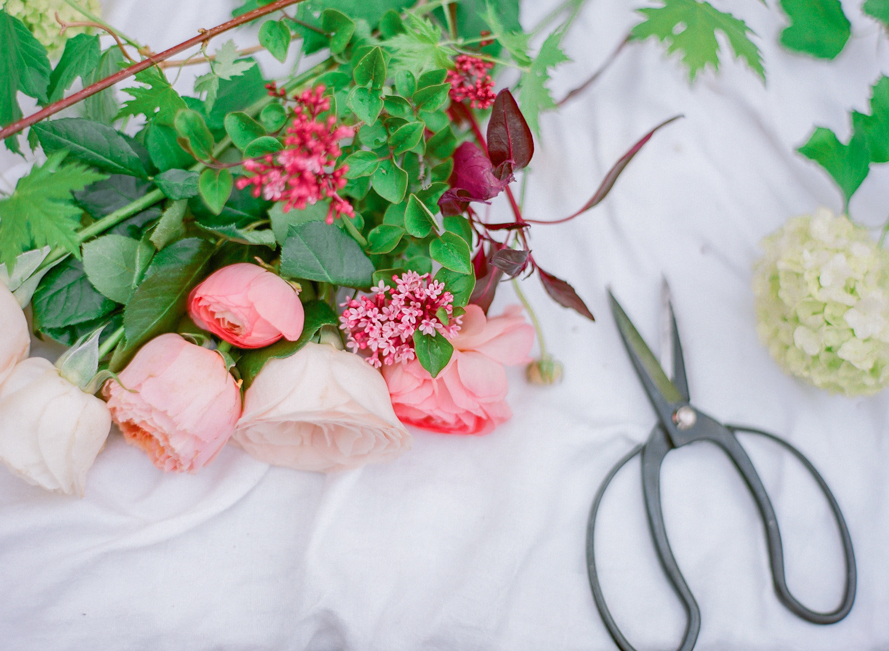
The other day, I spent the afternoon with a good friend chatting over lunch in her kitchen and brainstorming on ideas for Mother’s Day gifts. Only minutes later, she was clipping flowers from her garden and I was loading film after we’d come up with a beautiful way to gift her mother something unique, inexpensive, and entirely sentimental. Using a few heirlooms Robyn’s mother had given her over the years (a beautiful hobnail milk glass candy dish, a sweet floral sugar bowl, and a darling little silver teapot), we found ourselves foraging her garden for greenery and flowers to fill these family treasures with. Below, Robyn explains the process. And let me just say, I’m still jealous that all this came out of her garden!

Shannon Von Eschen Photography Shannon Von Eschen Photography

Materials:
*Some gorgeous foliages
 *A piece of chicken wire that will fit tightly into the container.
*Four or five types of blooms. Tip: Try to vary the size and shapes of your blooms to create lots of depth and texture.
*A floral knife or clippers–no scissors! Scissors damage a flower’s stem and prohibit it from drinking properly.

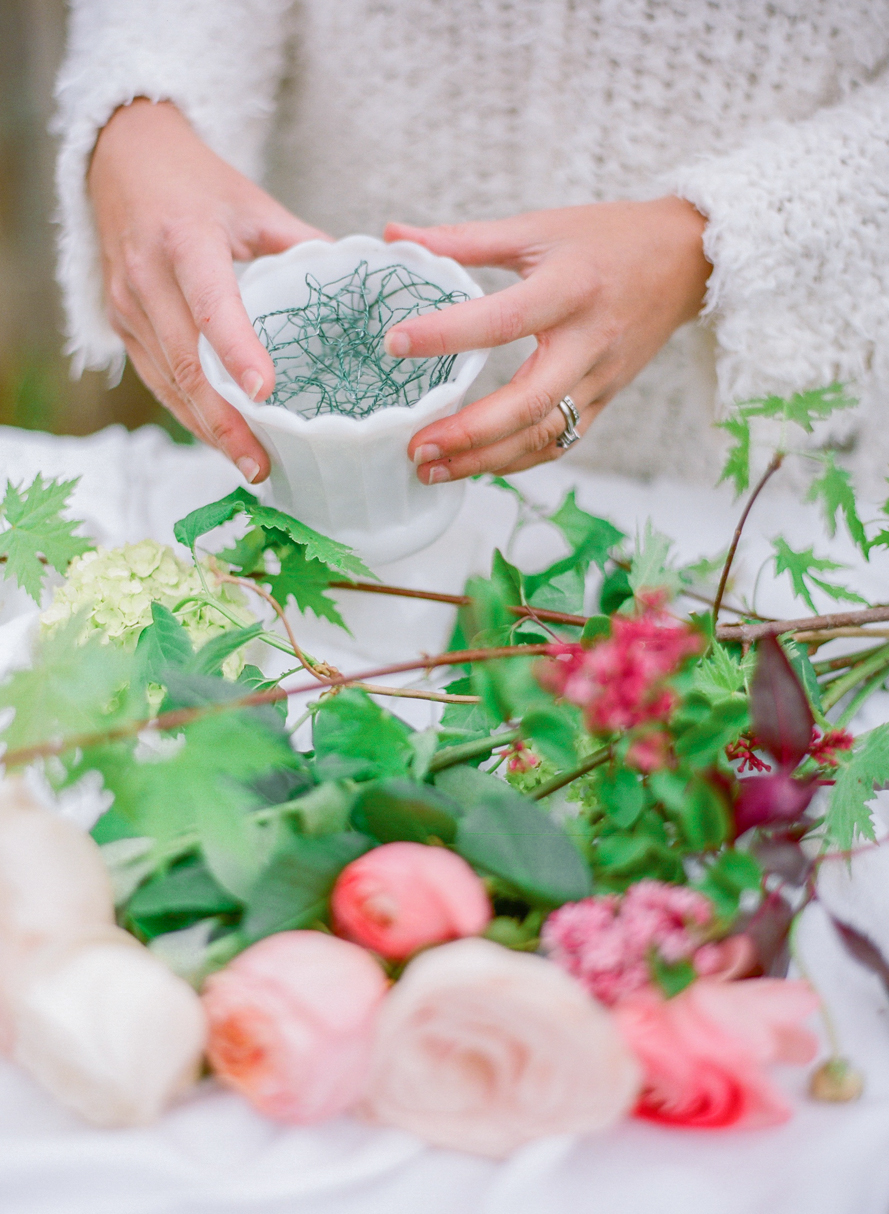
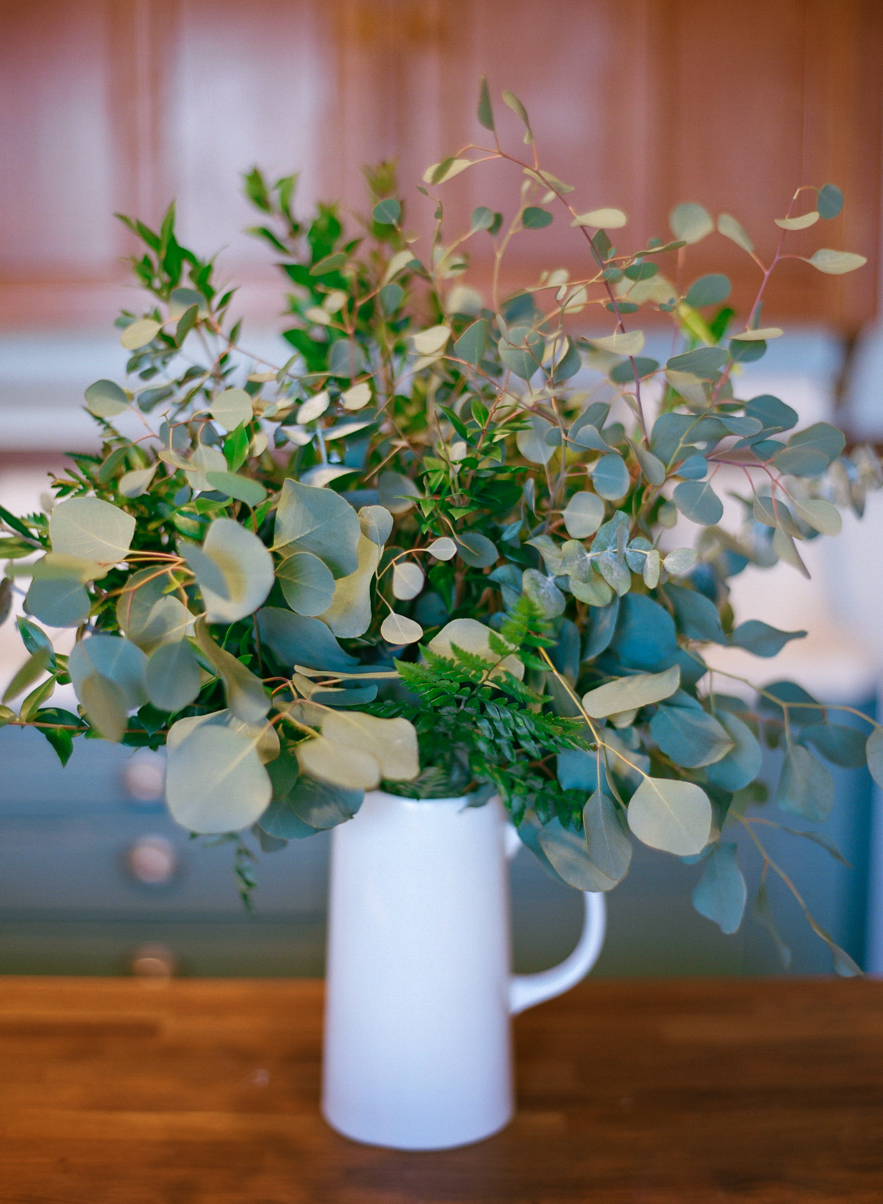
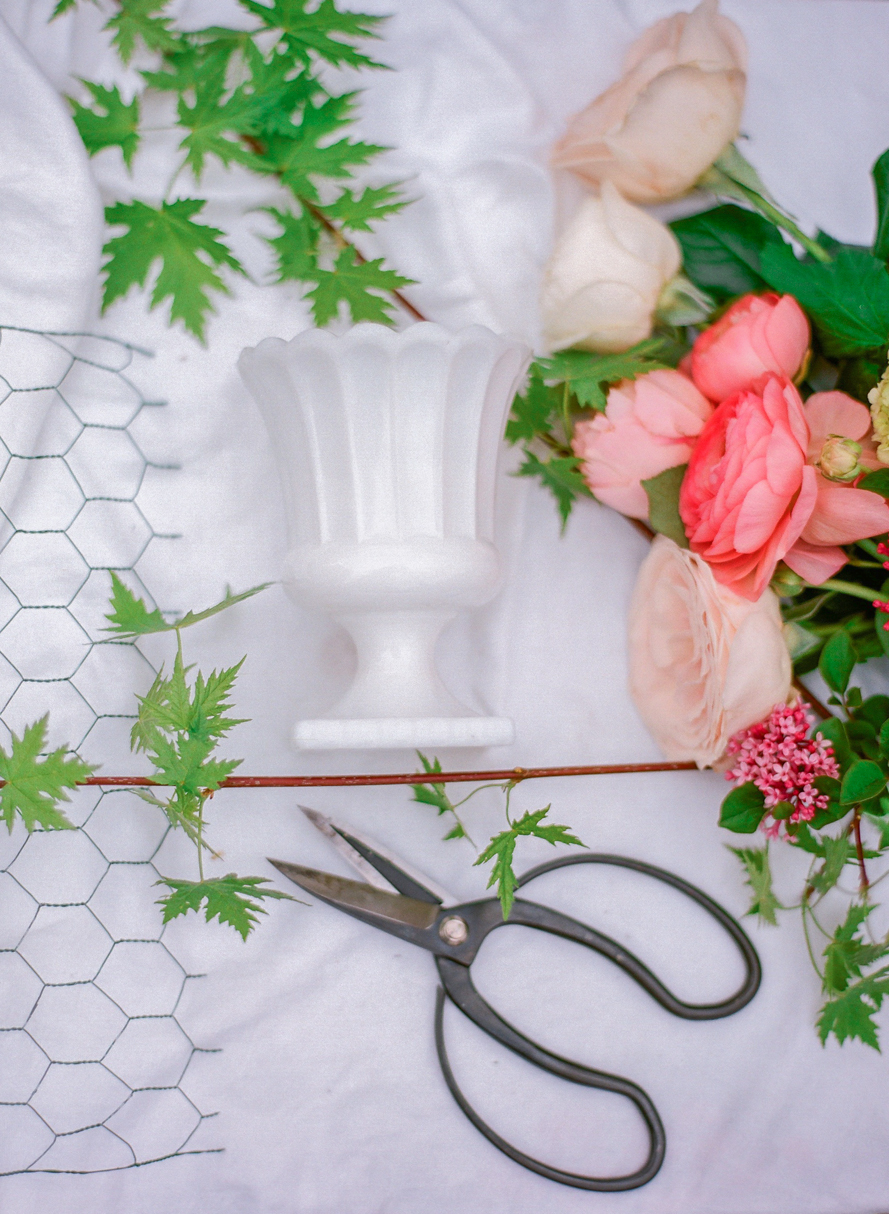
 * A pretty little opaque vase to showcase your blooms (or anything else your mother may have given you that could act as a vase.)

Shannon Von Eschen Photography Shannon Von Eschen Photography

Step 1:

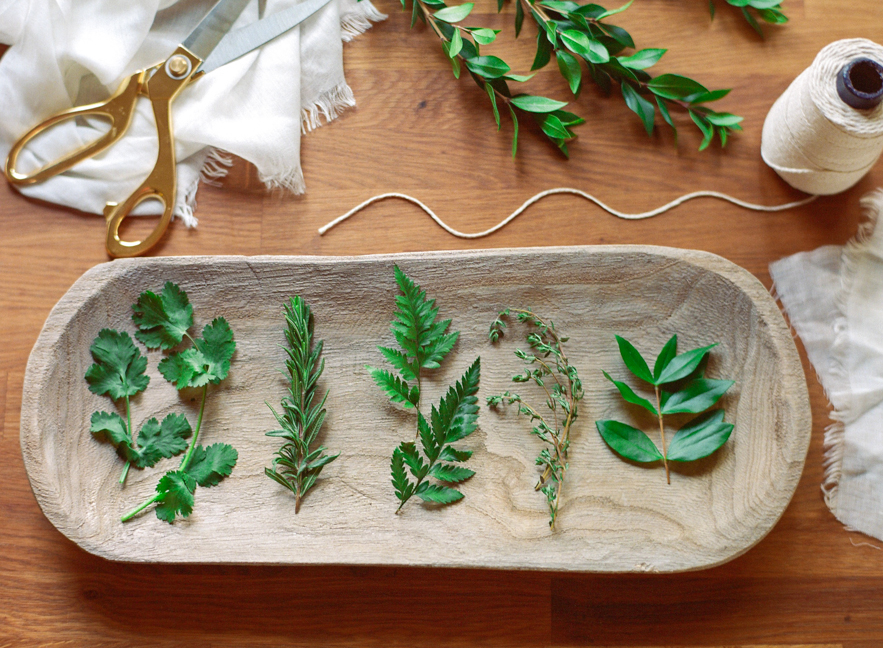
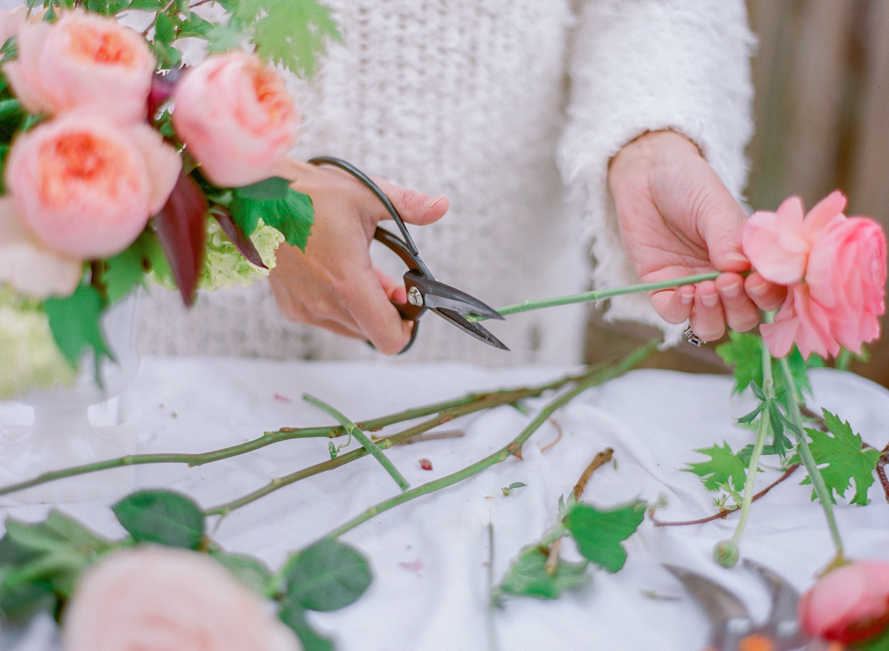
The first step to any gorgeous floral arrangement is to prepare your flowers! Make sure you clean off any foliage that will fall below the water line. Leaves in the water will encourage the growth of bacteria, which will shorten the life of your arrangement.
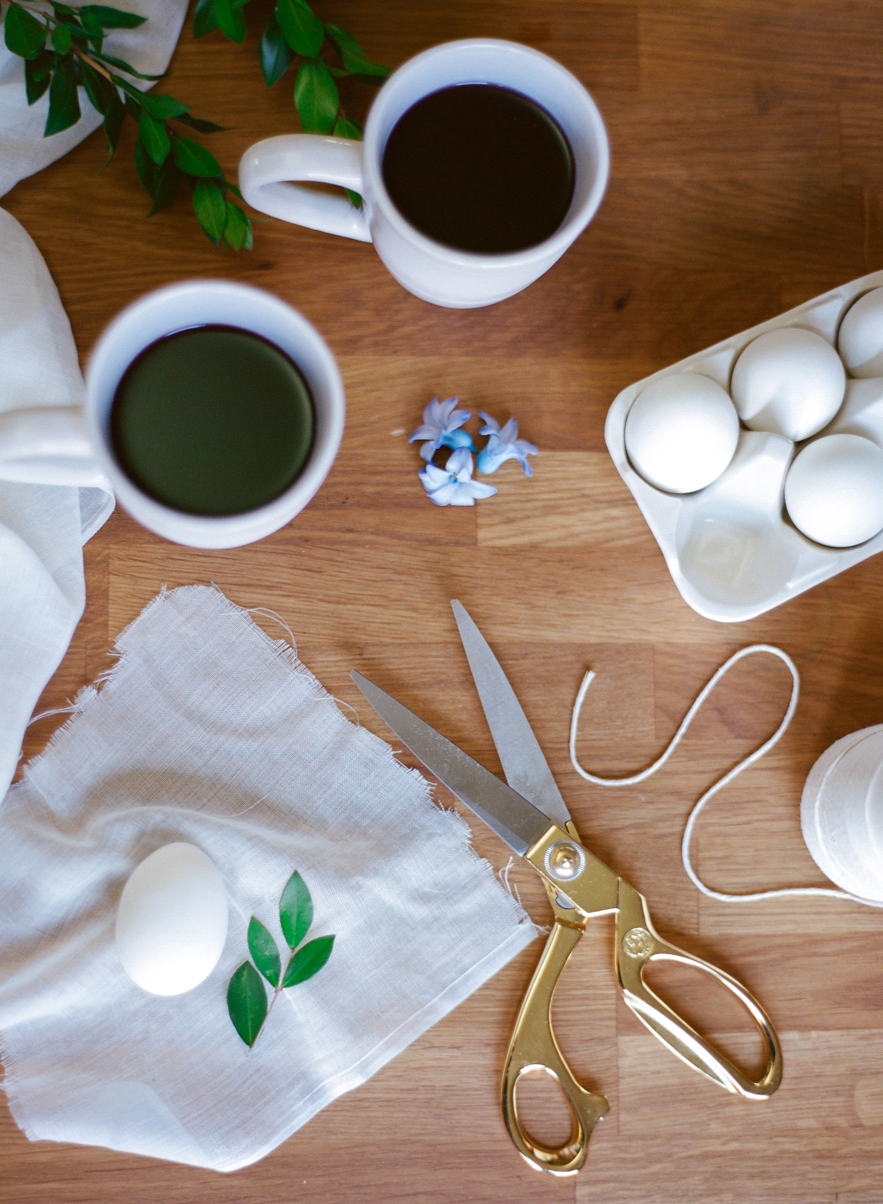
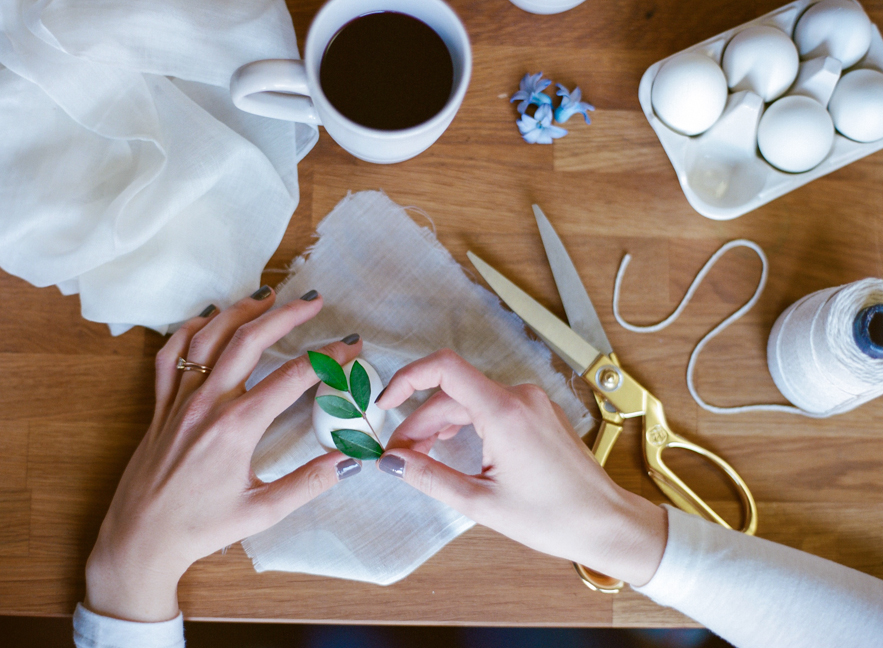
Shannon Von Eschen Photography Shannon Von Eschen Photography

Step 2:

Next, prepare your container. Bend your chicken wire to fit snugly inside the container. The chicken wire acts as a grid to hold your flowers where you want them, giving your design the shape you want.

Shannon Von Eschen Photography Shannon Von Eschen Photography

(more…)

Eggs, Easter, & Eli

Luke 24: 5-6.

♥ “Why do you look for the living among the dead? He is not here; He has risen!” ♥

It’s by far my favorite verse in the Bible. Which is why every year, on this day, I reference it. Today, we’ll glorify His name in all things. He is Risen!  HALLELUJAH!

www.shannonvoneschen.com

It’s become a tradition ever since you learned to walk. I hide eggs (and sometimes other treasures) in our fields of evergreen trees during the weeks before Easter, and you try to find them. We read the Easter Story and we talk about the true meaning of why we celebrate. And afterwards, we play! You have loved hunting for eggs since your very first Easter, and it melts me that you look forward to this each year. And guess what? This year, it snowed! How fun it was to frolic in the cold and yet still pretend it was really spring!  You are such a gift, child.

♥ Happy Easter, Eli! ♥

www.shannonvoneschen.com

www.shannonvoneschen.com

www.shannonvoneschen.com

www.shannonvoneschen.com

www.shannonvoneschen.com

(more…)

Botanical Imprints – A Natural Dye Easter Egg Tutorial

Spring will come and so will happiness. Hold on. Life will get... Warmer.
 -Anita Krizzan

www.shannonvoneschen.comwww.shannonvoneschen.com

Materials:

Hard-boiled (or blown out) eggs

Cheese-cloth

String (6-7” lengths) or rubber bands

Mugs for dye and spoons to retrieve the eggs

Red cabbage (robin-egg blue eggs), Blueberries (gray & blue eggs), & Grapes (lavender & dark blue eggs)

Herbs, Leaves, or Flowers for imprinting

Drying wrack or cutting board

www.shannonvoneschen.comwww.shannonvoneschen.com

Instructions:

1. Prepare the dyes of your choice:

Cut up the cabbage into chunks. Rinse the blueberries and pick the grapes from the grape stem. Add the dye matter, (red cabbage, blueberries, grapes, etc) each type individually, to a pot of water and bring it to a boil. Turn the heat down to low and simmer, covered, for approximately 15 to 30 minutes. Then, use a slotted spoon to strain out extra pieces of the dye matter so you liquid is all that remains. Let it cool to room temperature and pour into mugs or small bowls. (Optional: Add 1 tbs of vinegar per cup of strained liquid. Occasionally, this will result in more vibrant-colored eggs)

www.shannonvoneschen.comwww.shannonvoneschen.com

www.shannonvoneschen.com

2. Cut your cheese-cloth (or nylons) into 6”x6” squares. Set aside.

3. Select your botanical, herb, leafy, or floral imprint clippings. I used Cilantro, Rosemary, Fern-leaf, Thyme, & Italian Ruscus. Clip small egg-sized springs to use as an imprint. Set aside.

www.shannonvoneschen.comwww.shannonvoneschen.com

www.shannonvoneschen.comwww.shannonvoneschen.com

4. One at a time, select one sprig and carefully hold it firmly against the egg. Tightly begin wrapping one of your cheese-cloth squares over it, twisting all the ends together to hug the egg firmly. (You can also use a pair of nylons). Secure the cheese-cloth tightly with a piece of string or a rubber band. 

www.shannonvoneschen.comwww.shannonvoneschen.com

(more…)

Go to Top